Content creation is one of the most time- and resource-consuming tasks in online marketing.
Creating well-written blog posts, landing page copy, and even social media posts require weeks—if not months— of planning, executing, and reviewing before they are finally published.
AI writing software speeds up the process by helping your write long-form content, Google Ads copy, and others with a few clicks of a button.
This way, you can focus on optimising the created content for their respective keywords, test and iterate the copy to generate more conversions, and more!
One of the best and most popular artificial intelligence (AI) tools in the market is Jasper.ai, which offers a special free trial for those who haven’t used it.
This post details how you can maximise Jasper.ai’s free trial to provide high-quality content. Once the free trial period is over, you can decide whether or not to make this AI tool part of your marketing tech stack.
How to Sign up for Jasper.ai’s Free Trial?
Step # 1 – Create an Account
On Jasper.ai’s homepage, scroll down the footer to see the form where you have to enter your email to access the free trial worth 10,000 words for the next five days.
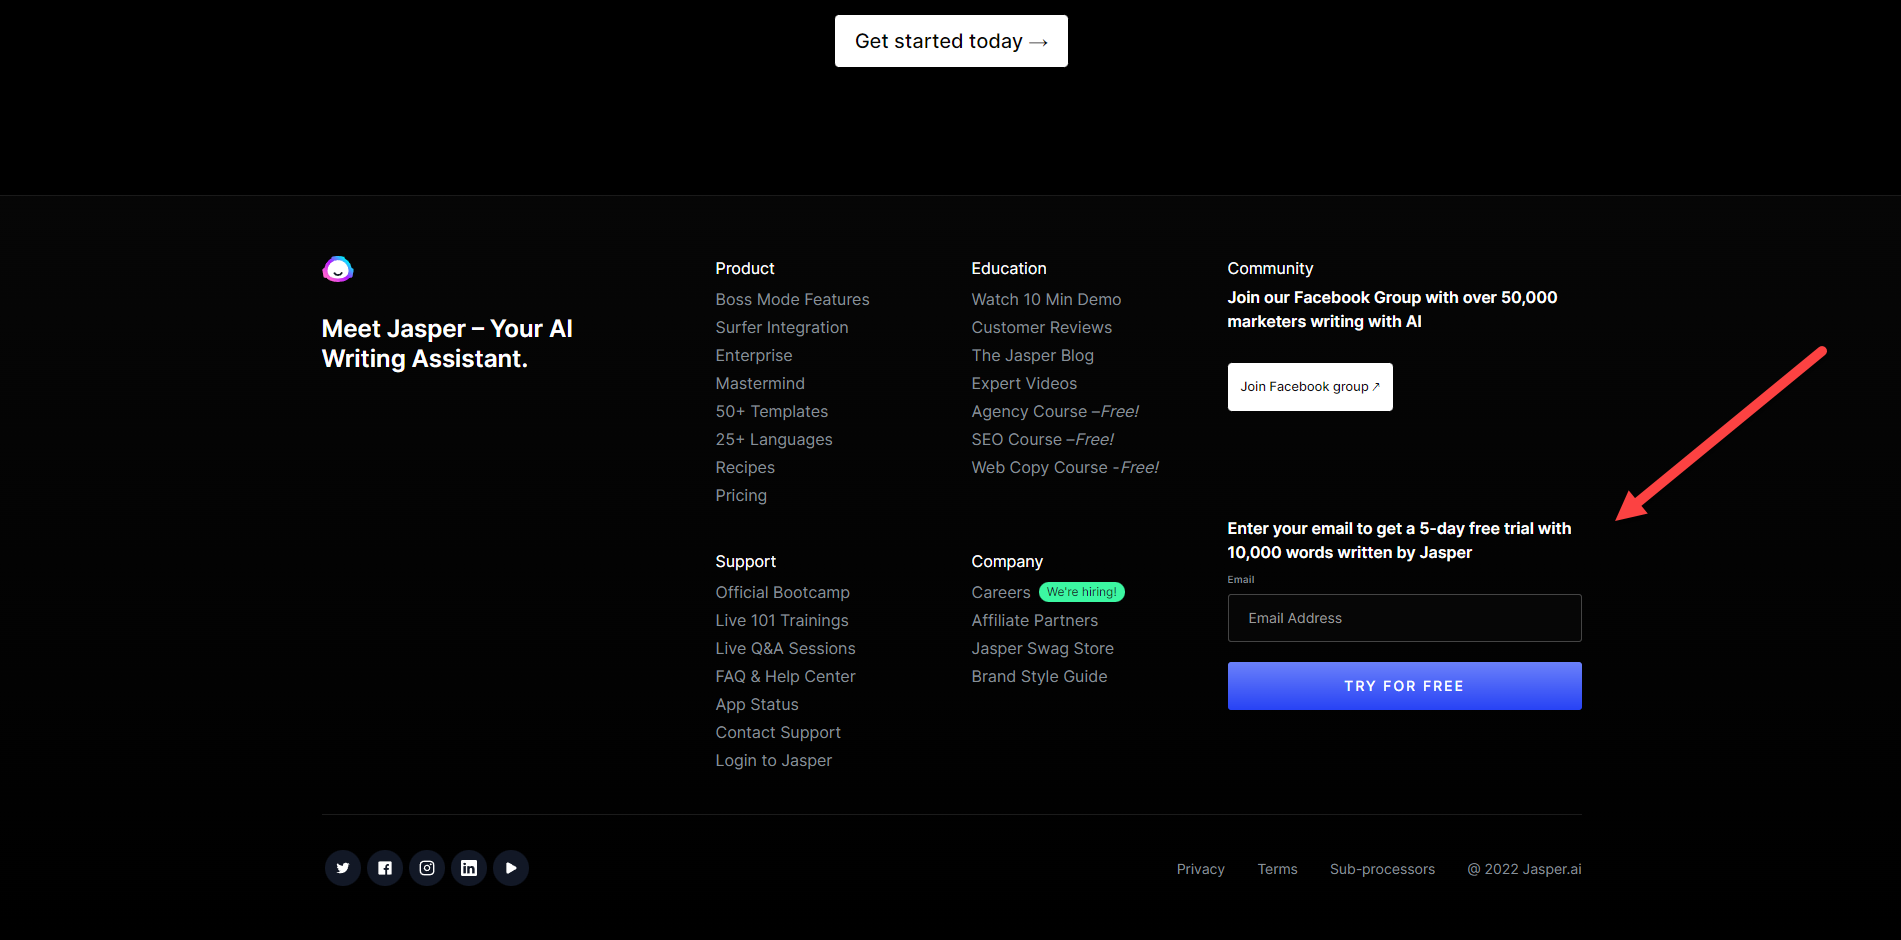
There’s also a page on the site that provides more information about Jasper.ai’s free trial.

Strangely enough, this page isn’t available on their homepage. The only way I found it is by searching for it on Google.
Click here to view the page.
Regardless of how you signed up for the free trial, Jasper.ai will redirect you to the sign-up page.
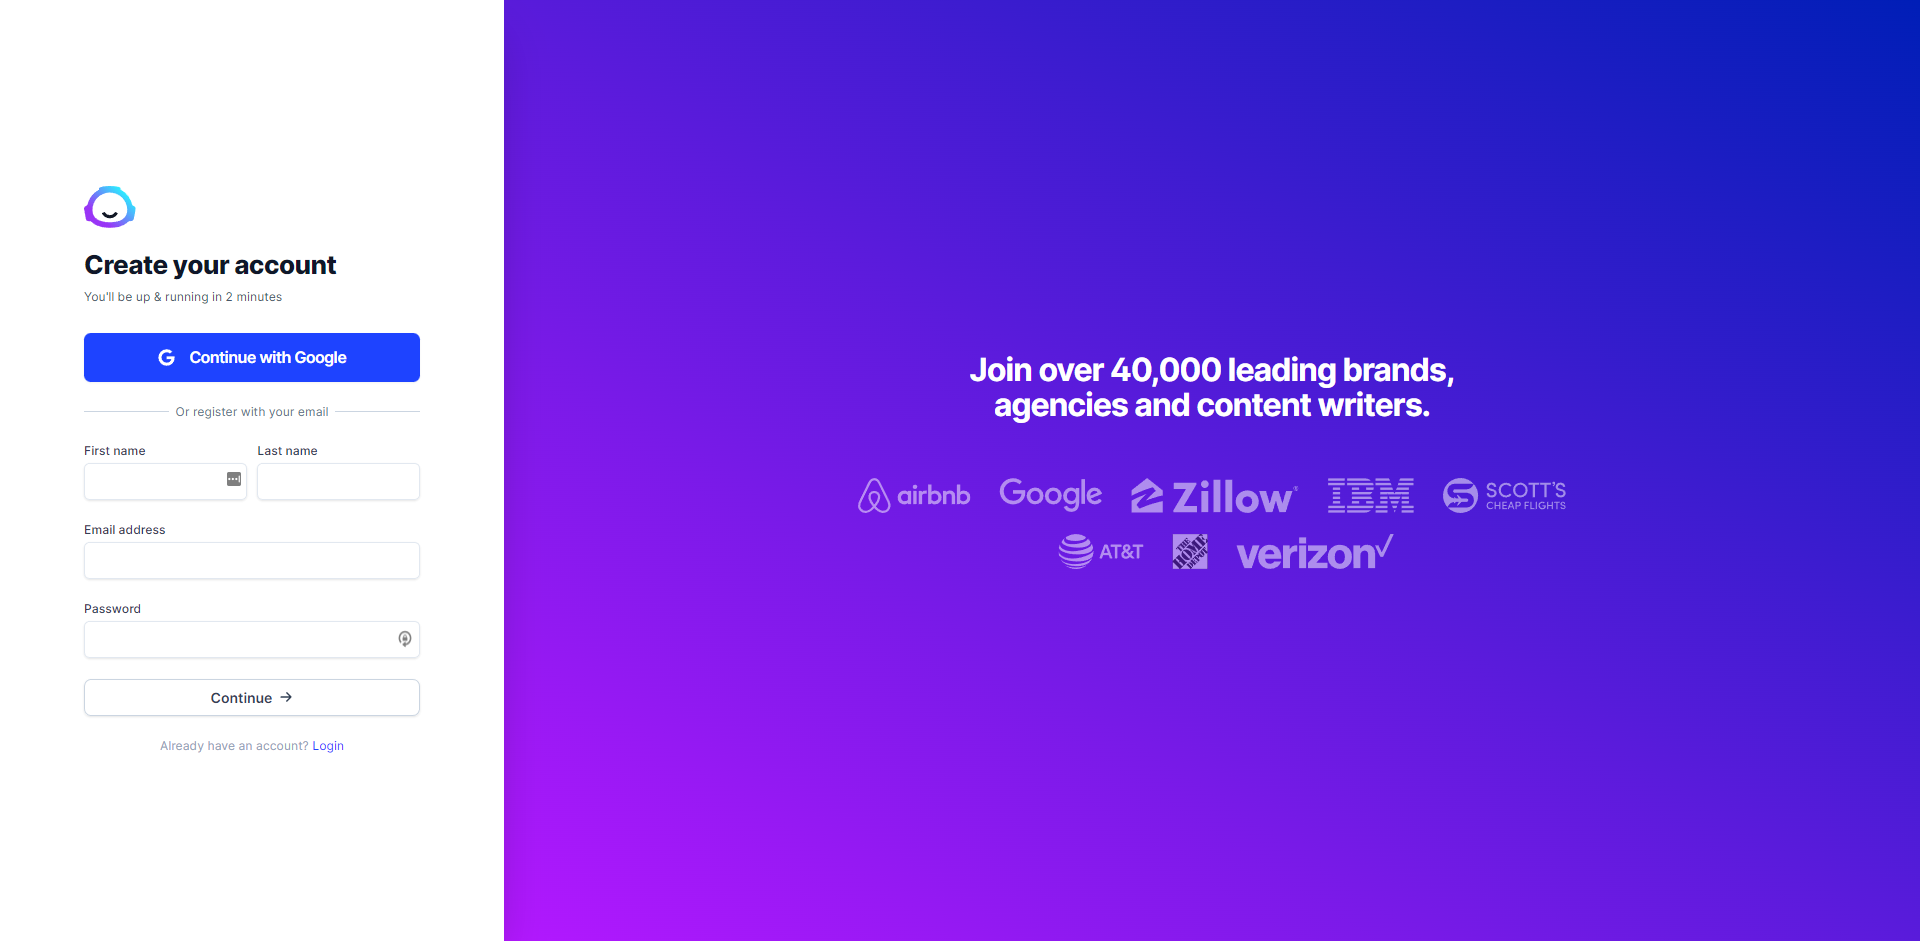
After filling out your details, expect to receive an email from Jasper.ai with the verification code. Copy the code and paste it onto the page asking you to verify your email.

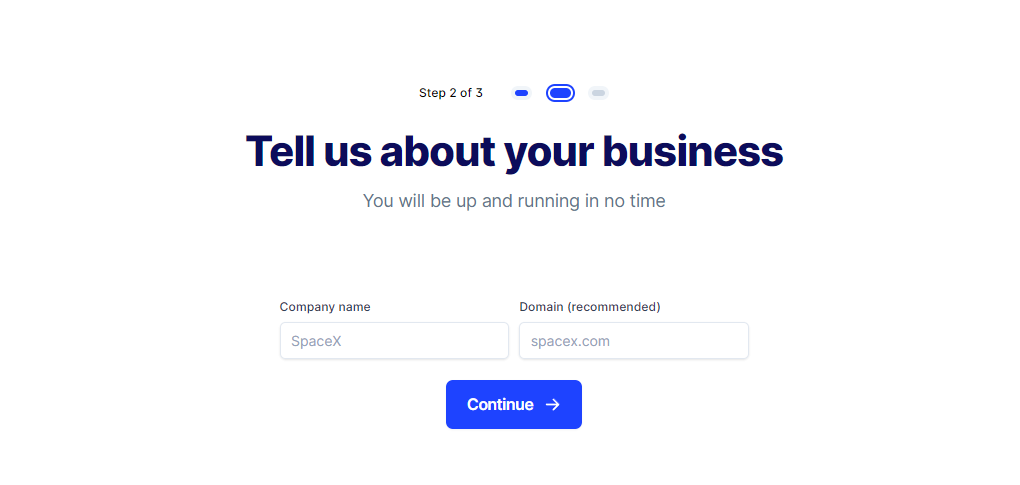
Once successful, you must enter your company name and domain on the following page.
Then choose how you plan to use Jasper for your company from the following.
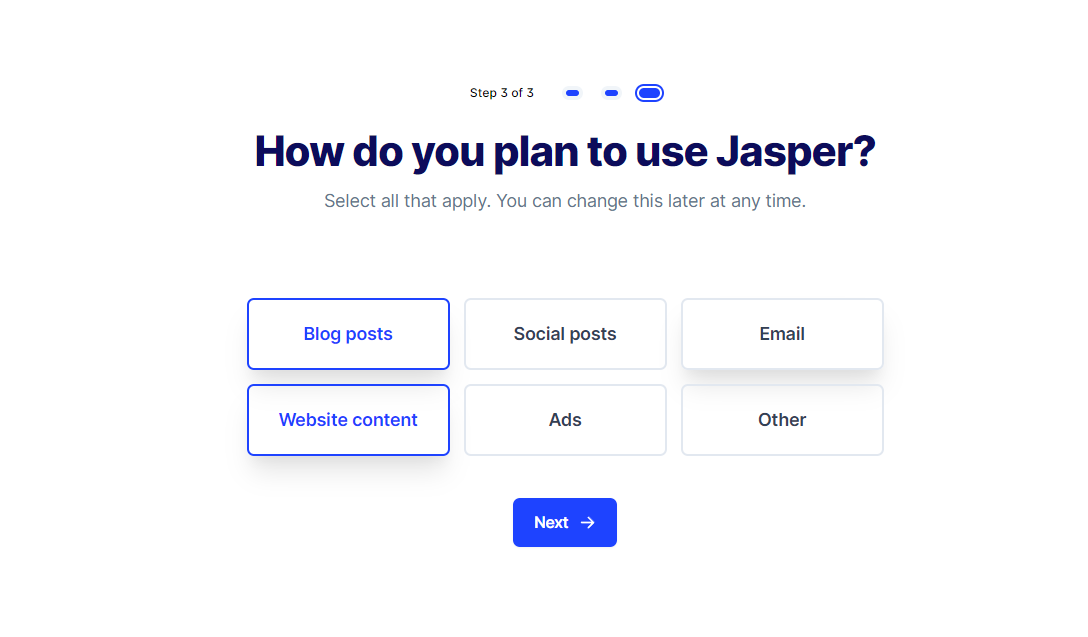
To completely set up your free trial account, you will have to verify your account via reCAPTCHA.
Step #2 – Choose Your Plan…And Pay for It?
Once you’ve proven you’re not a bot, the fun should begin, right?
But wait—there’s more!
You’ll be redirected to the Jasper.ai pricing page to choose your plan.
Unlike the free trials from other tools, Jasper.ai requires you to choose your plan first and enter your credit card information.
Jasper.ai won’t push through with your credit card payment unless you cancel your account five (5) before the free trial elapses.
Technically, this still qualifies as a “free trial” since you didn’t pay for anything even though you entered your credit card details.
I’m not against Jasper.ai’s trial model because this model prevents spammers from signing up and abusing its AI. But from a user’s point of view, it makes the sign-up process much harder for those who want to try out Jasper.ai without entering sensitive information.
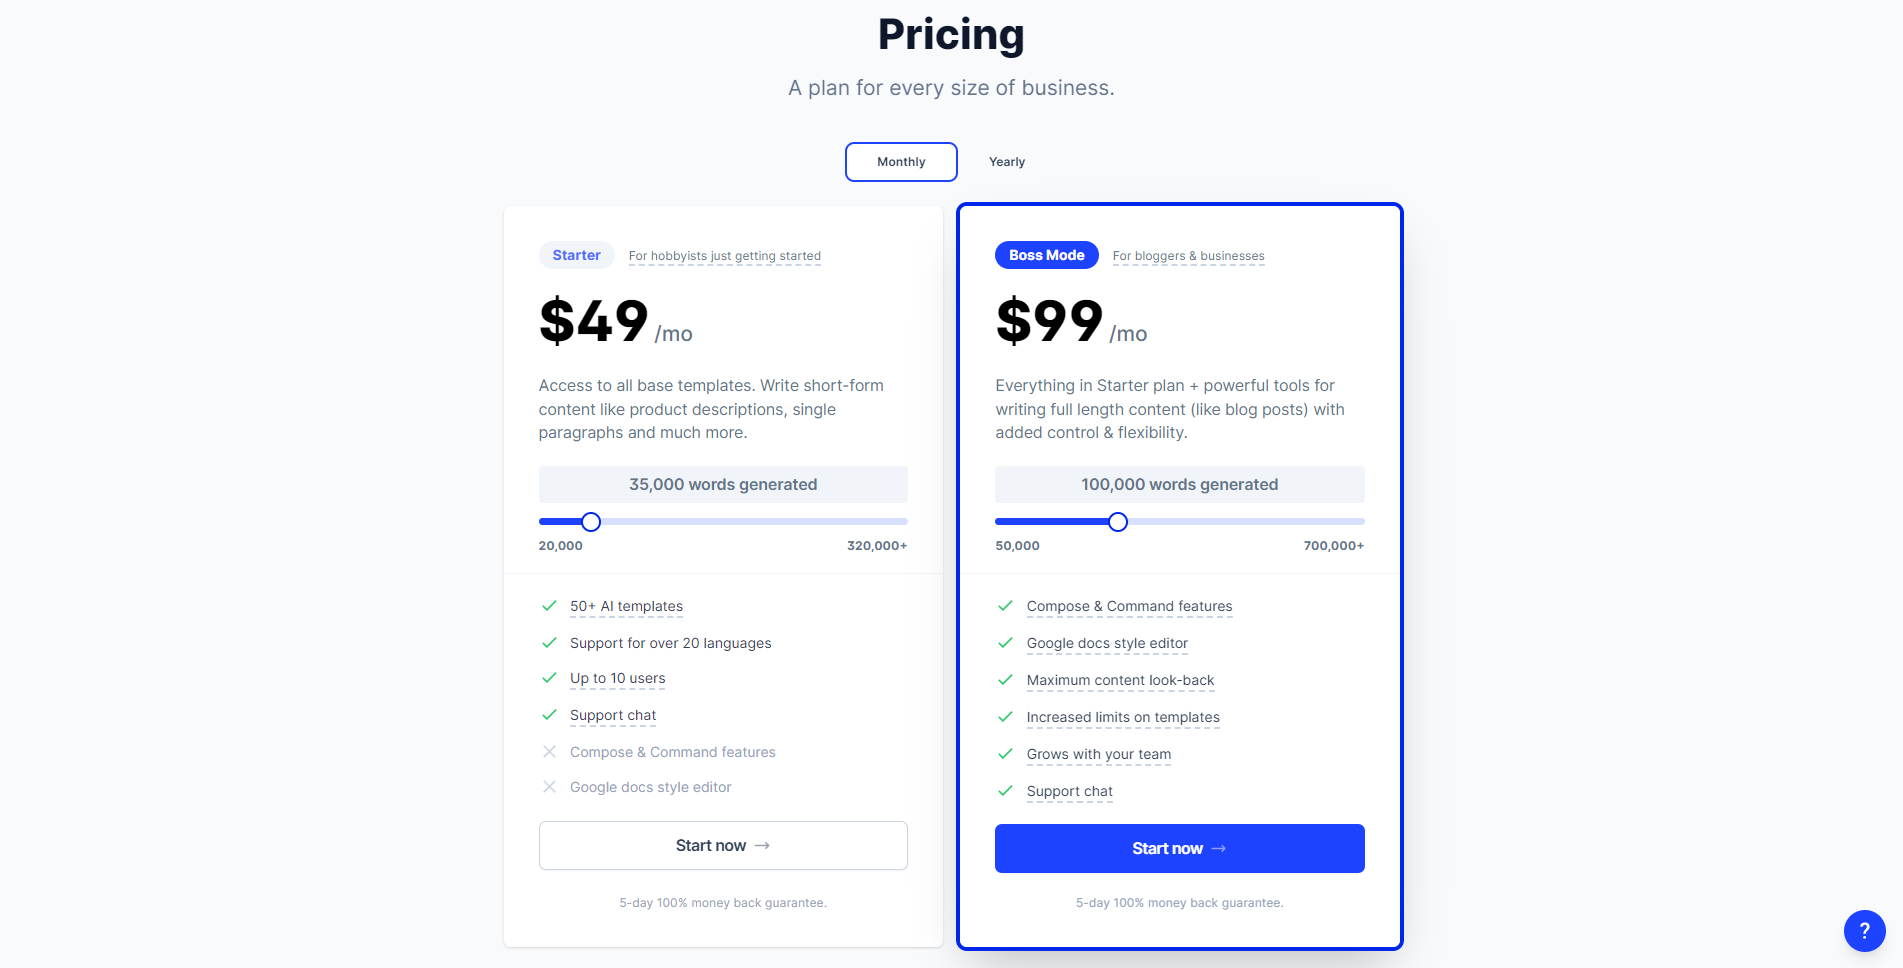
With that out of the way, two plans available are Starter and Boss Mode.
The Starter plan starts at $29/month for 20,000 words. You can only pay for your subscription annually if you choose 35,000 AI-generated words, which costs $40/month paid annually or $49/month.
The plan comes with Jasper.ai‘s essential features, such as 50+ AI templates, the ability to add ten users, support for 20 languages and more, and chat support.
The Boss plan costs at least $59/month for 50,000 generated words.
You can choose to pay for its yearly subscription and save two months’ worth of subscriptions for the next 12 months. But you must select the 100,000 words generated, which costs $82/month billed annually or $99/month.
The Boss Mode possesses all the features of the Starter plan but gives you complete control over how you can create content using AI. We’ll get into it in this post once we choose our plan.
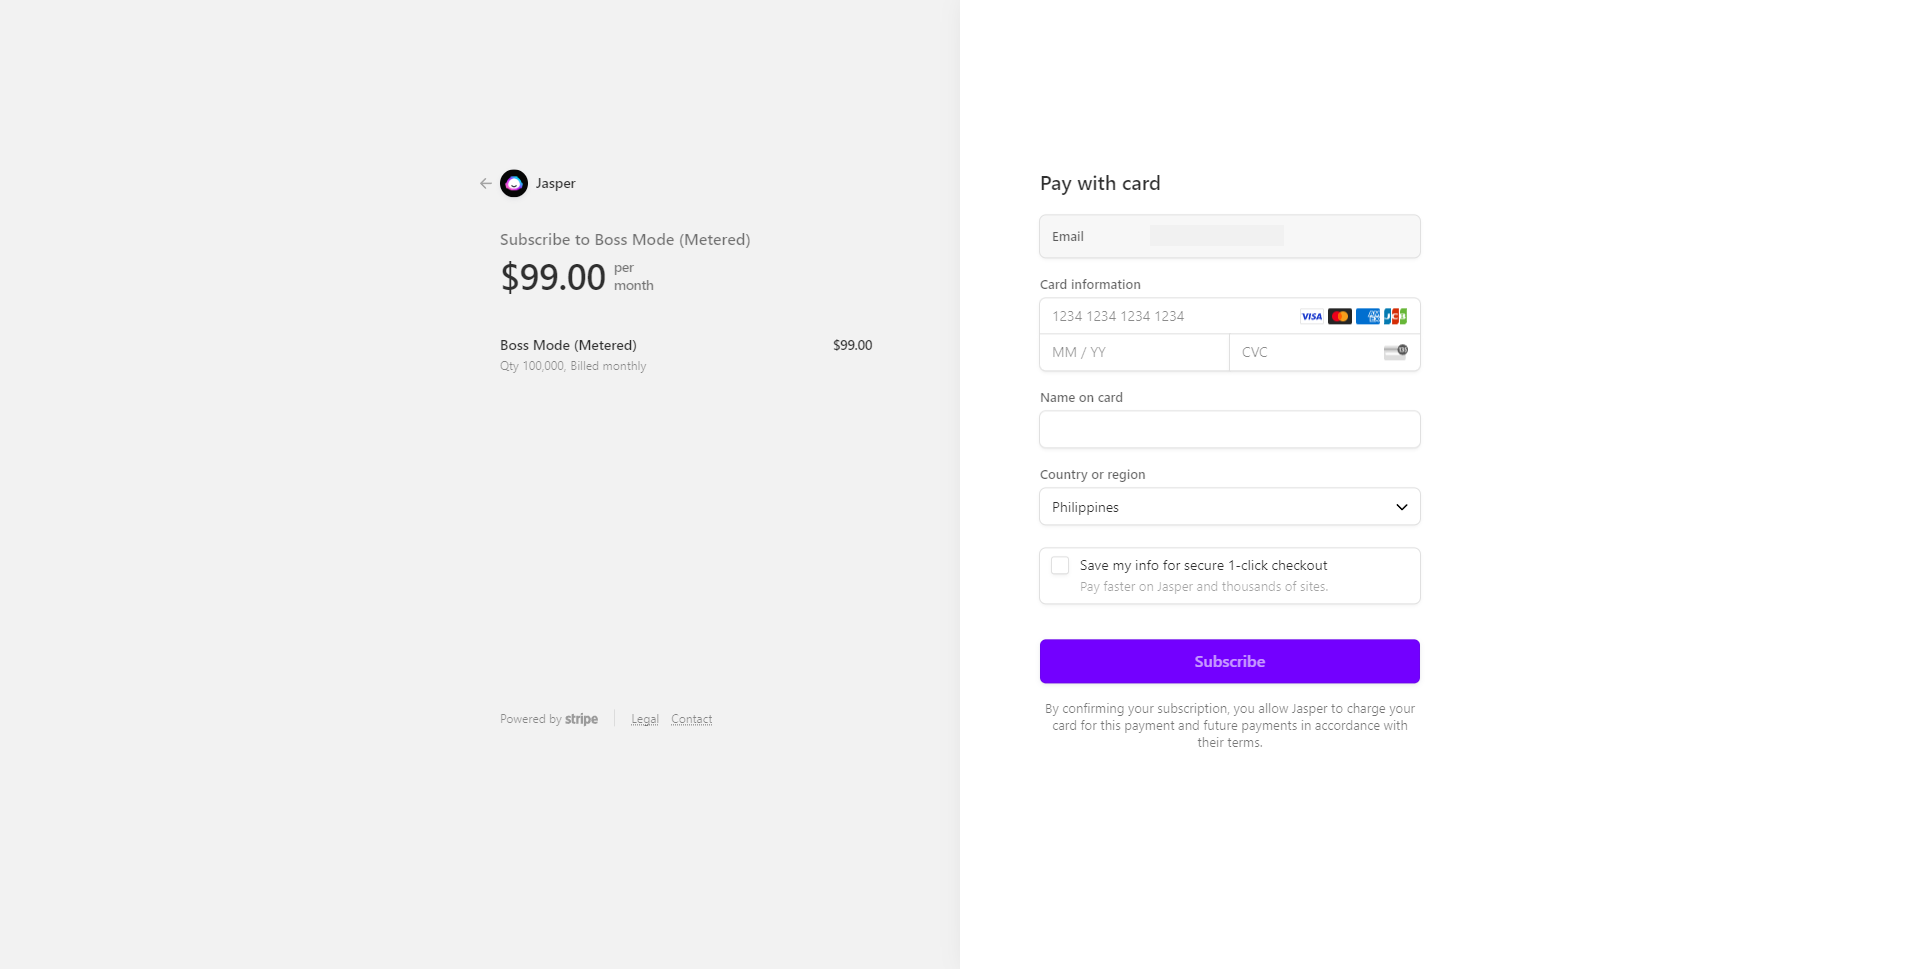
For this Jasper.ai review, let’s go with the $99/month Boss Mode plan.
On the payment gateway page, enter your credit card details.
Where to Start with Your Jasper Free Trial?
Once your payment goes through, you will be redirected to your account dashboard.
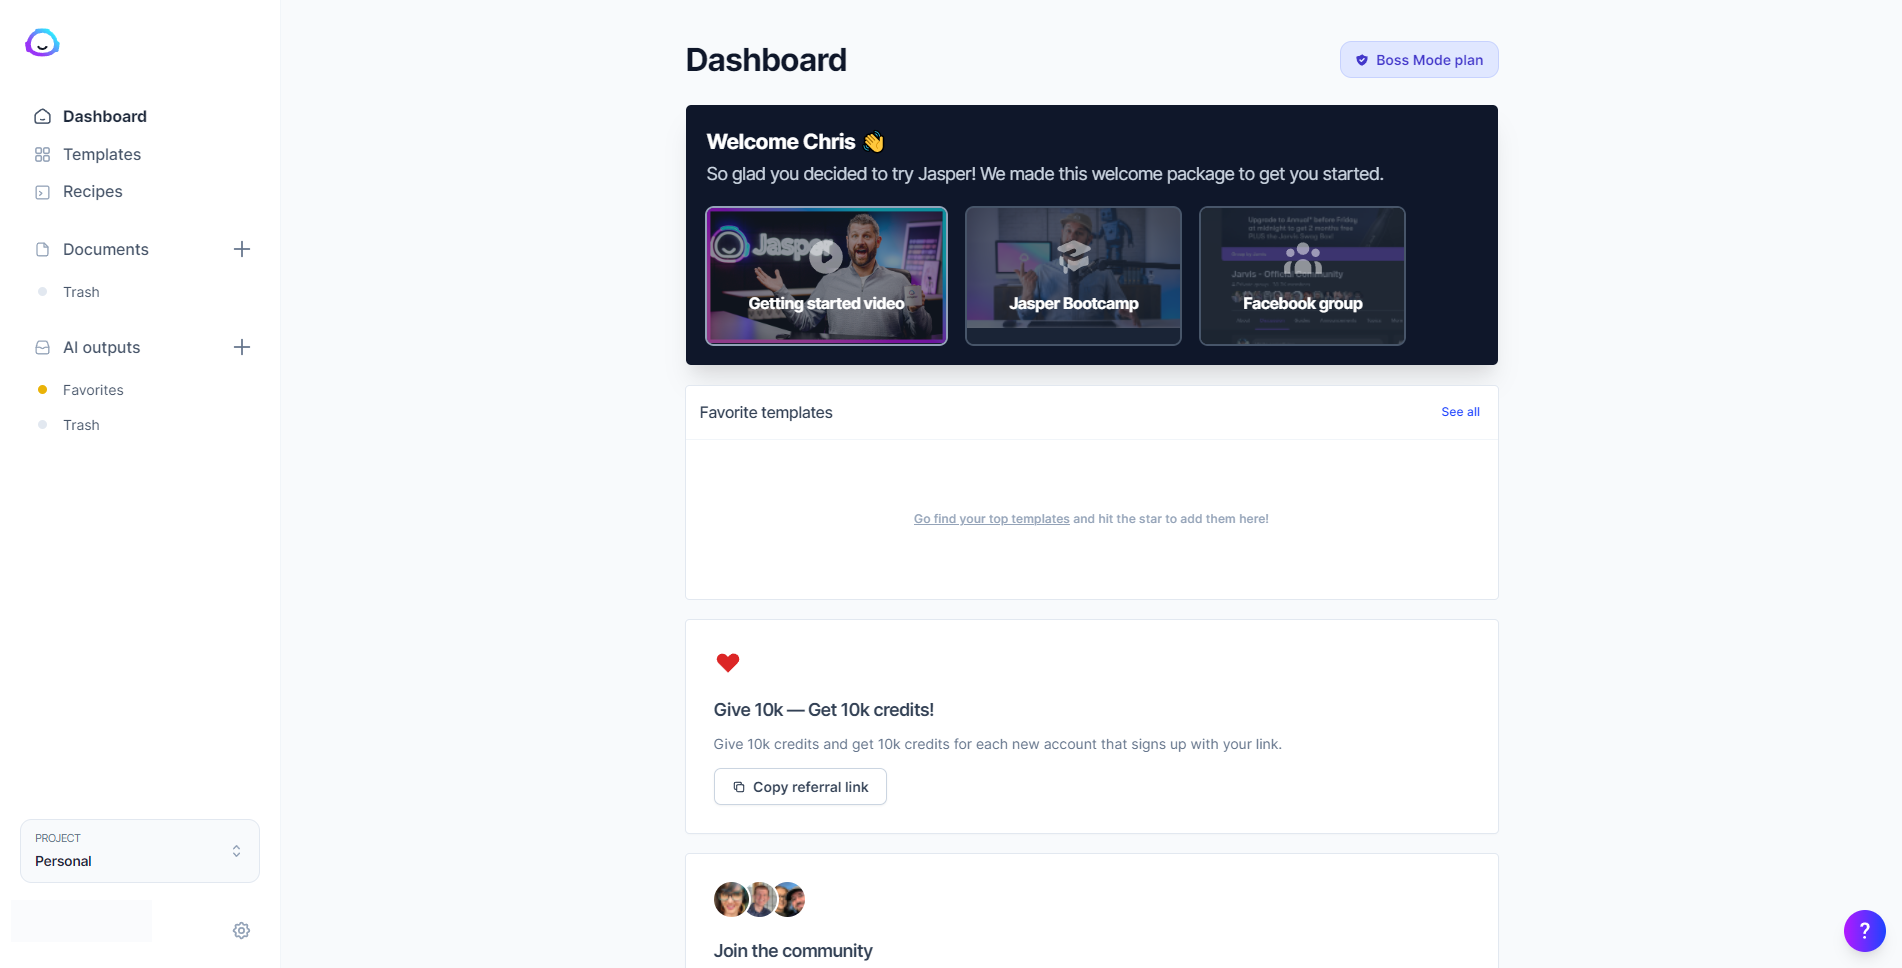
Ideally, you want first to watch the onboarding videos to familiarise yourself with the AI tool before you press anything.
But for this post, let’s jump straight into its core functions and how you can use them to your advantage.
Identify the Templates You Need for Your Project
Click on the Templates above to access all its premium templates.
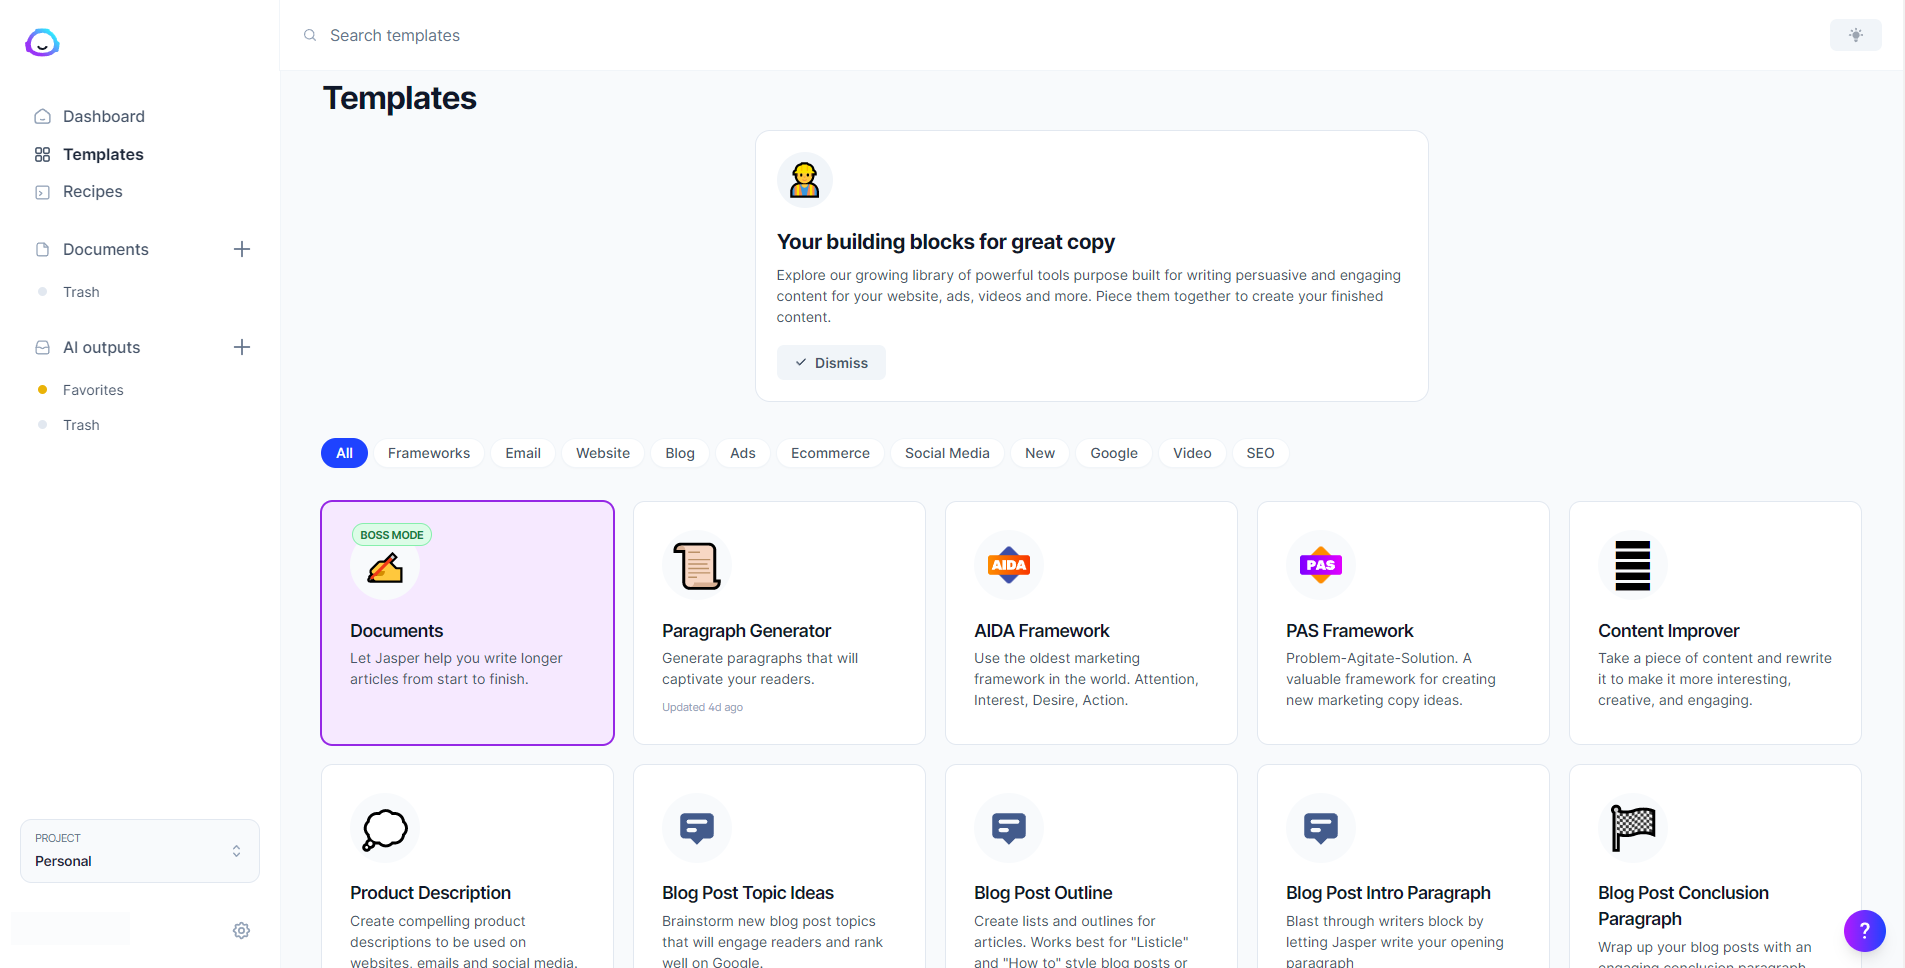
Whatever written content you need for your business, Jasper.ai has a template for it.
Below are some of the most popular ones and a short description of each:
- Blog Post Topic Ideas – Let the tool brainstorm the topics you should create for your blog.
- Boss Mode – Jasper.ai’s flagship feature, create original and creative content with just a few clicks.
- Content Improver – Copy and paste a paragraph for Jasper.ai to try and generate a much better version of it.
- Google Ads Description – Generate content for the “Description” part of your Google Ads campaign.
- Facebook Ads Headline – Produce batches of text you can use for the “Headline” part of your Facebook Ads campaign.
- Facebook Ad Primary Text – Automatically create content to be featured in the “Primary Text” part of your Facebook Ads campaign.
From these templates, you need to enter information about the topic to provide Jasper.ai context and help it produce the content you need.
For example, here’s what the Google Ads Description template looks like:
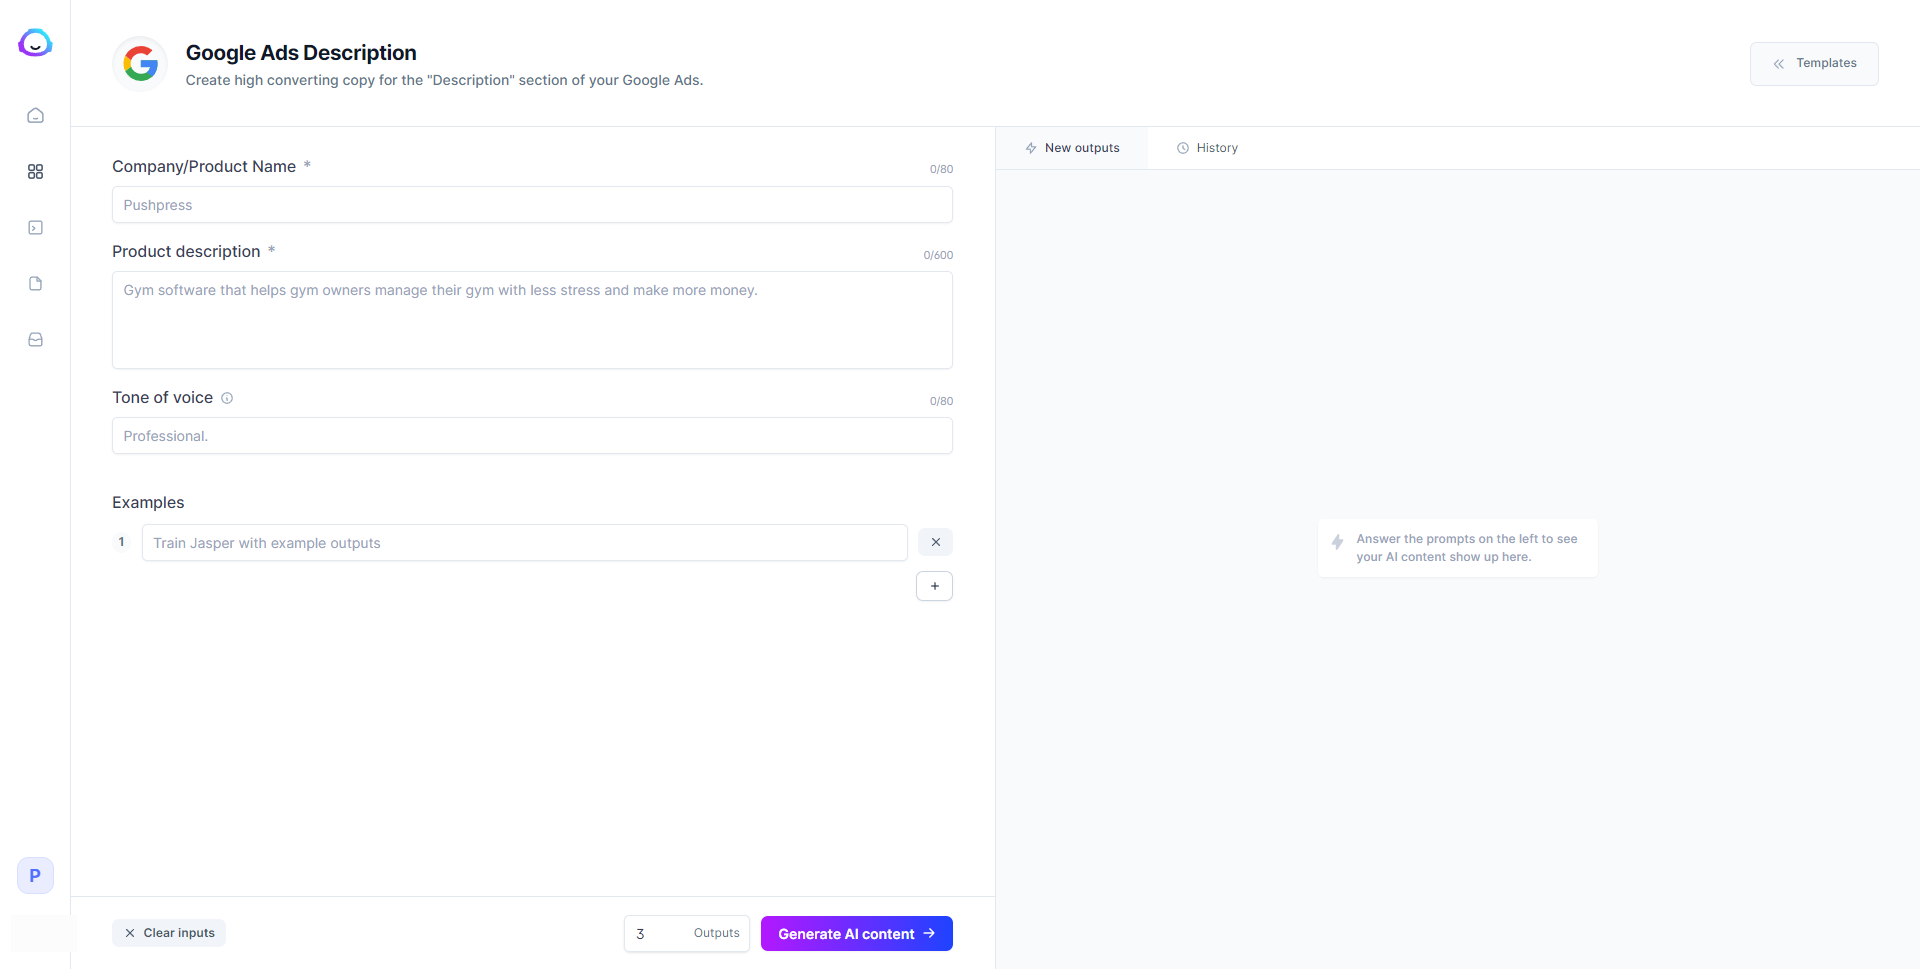
Before you can generate descriptions for your Google Ads campaign, you must enter your company, product name, tone of voice, and examples Jasper.ai will use as a reference.
In this case, let’s pretend we have a time management tool for which we want to create ad copies. Below is the information we need to input:
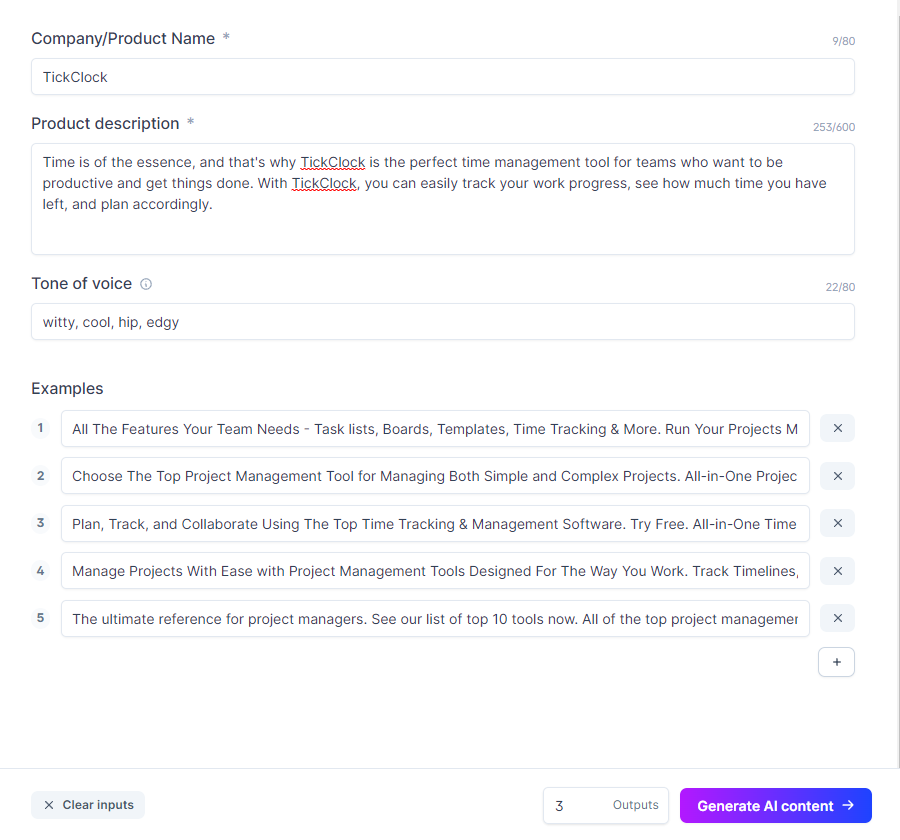
Use your favourite PPC research tool to extract ad copies for your target keywords for the examples.
After clicking “Generate AI content,” below is a screenshot of the results:
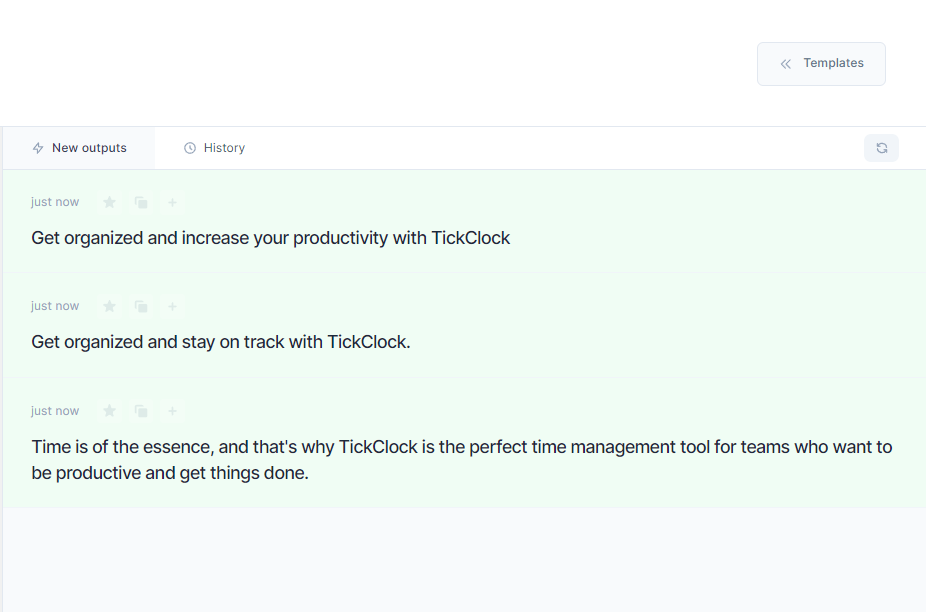
If you’re unhappy with the results, click the “Generate AI content” again to produce new and hopefully better results.
Here’s what we got the second time around:
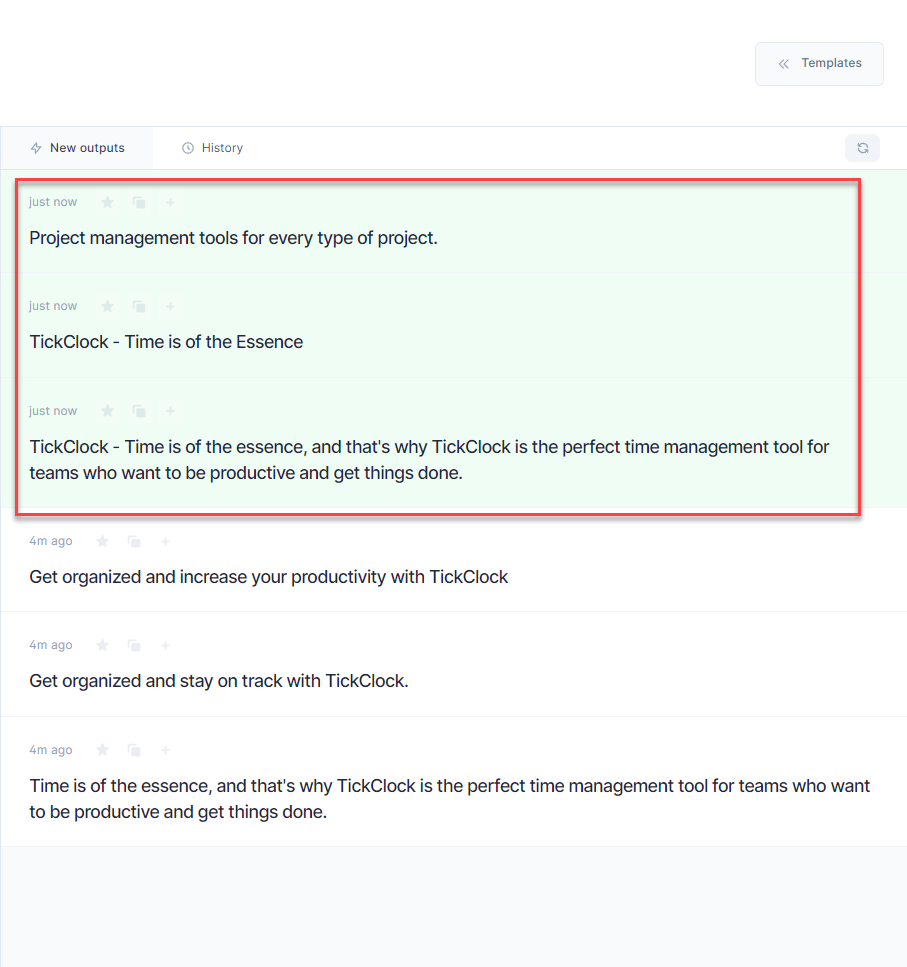
Keep in mind that the results are dependent on the information you entered about your company and product.
So, if you’re unsatisfied with the content the tool produced, you need to tweak the information to improve the results you’re getting.
This is how most templates work (except for the Boss Mode, which we’ll get into shortly).
You can generate AI content based on the information you provided and iterate your inputs to help the tool create better and more specific content for you.
Once you’ve created the content you need from the templates available on Jasper.ai, you can edit and use them as part of your marketing campaign.
Unleash Documents for Long-Form Content Writing
As powerful as the templates are, you may feel disjointed about using them in your writing process.
Let’s say you want to create a resource guide to be published on your blog. That means you have to do the following:
- Brainstorm for topic ideas.
- Outline the points you’ll be discussing in your guide.
- Write an intro and conclusion for the guide.
- Edit the post by tightening sentences and paragraphs, thus making them read clearer.
- BONUS: Write an SEO-friendly title and description for it.
You can perform all these steps using Jasper.ai’s templates.
With a few clicks of a button, you should have the guide ready for your review in minutes.
All you must do is edit and ensure that the guide is ready for publishing.
But the problem with using the template is you have to jump from one template to another.
For example, you have to click on the “Blog Post Outline Template” to generate the guide’s outline.
Once you finish, you have to copy and paste the outline on your document for your reference.
Then you must click on another template again—this time, the “Blog Post Intro Paragraph.” After which, you have to copy and paste the proper intro on your document.
This goes on and on until you’re done with the guide.
While the templates are extremely useful in helping you create content at blazing-fast speeds, they don’t lend themselves to efficiency due to the constant back-and-forth when using them.
Enter Documents.
Setting Up Your Document
From the left sidebar, select Documents and click on the “New” button on the right side of the screen.
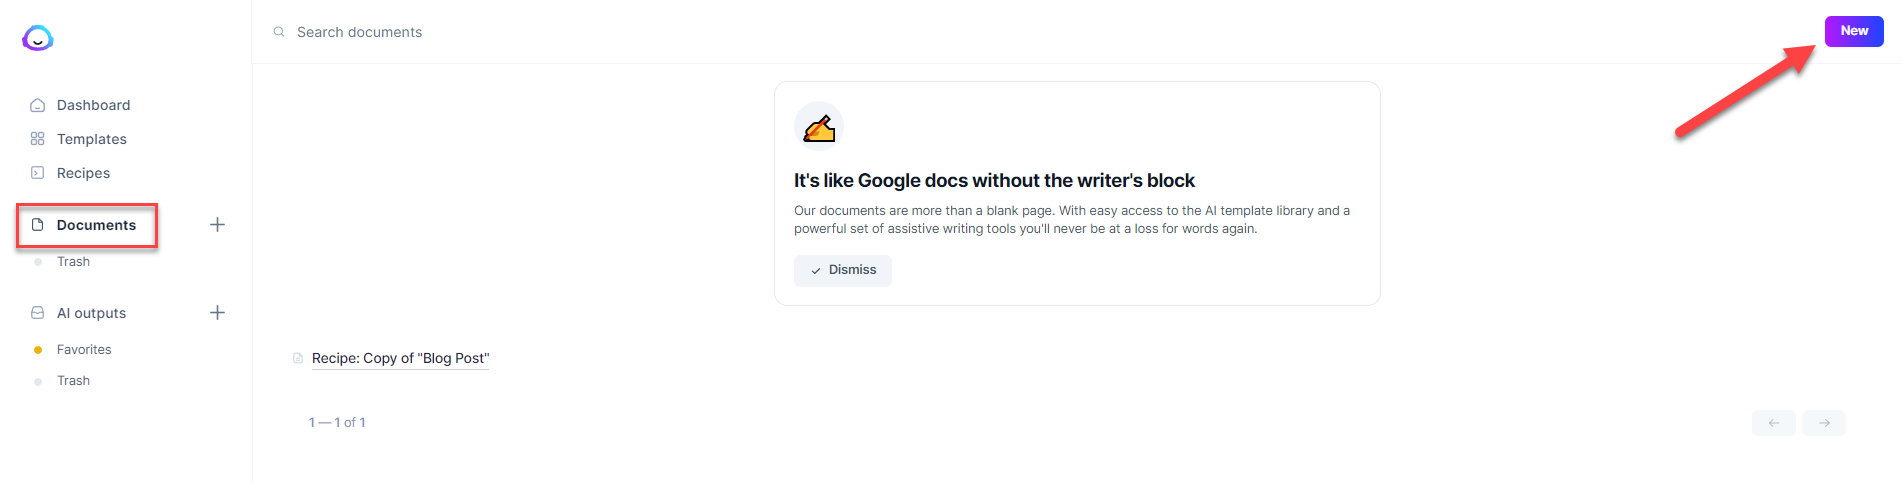
On the next page, you have to option to start from scratch or use its blog post workflow process. Let’s choose the latter for this post.

Then you must fill out the information about the guide that Jasper.ai will use as context when generating content.
For this example, let’s pretend we want to create a guide on how to write great content.
Initially, you want to fill out the introduction part first.
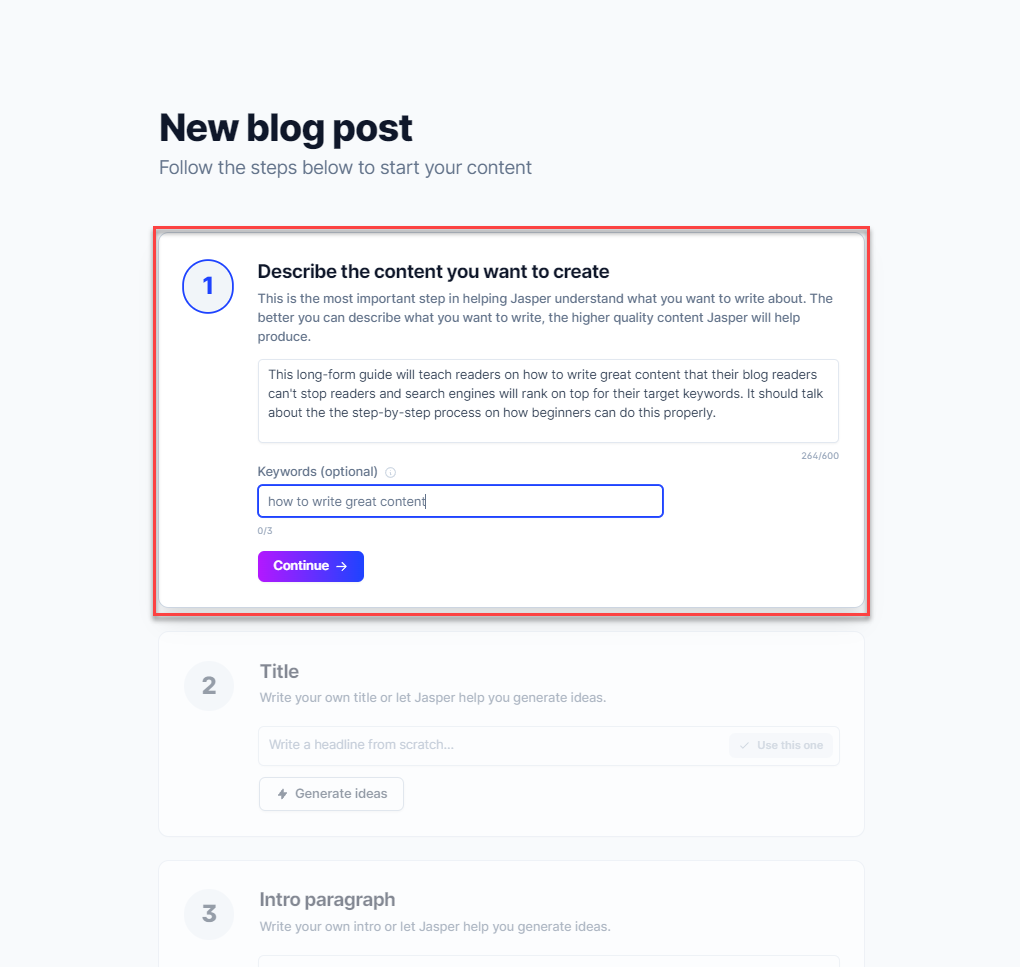
Next, you can ask Jasper.ai to generate the title and intro paragraph.
Click on “Generate Ideas” to initiate the command and “Generate More Ideas” if you’re unsatisfied with the current batch.
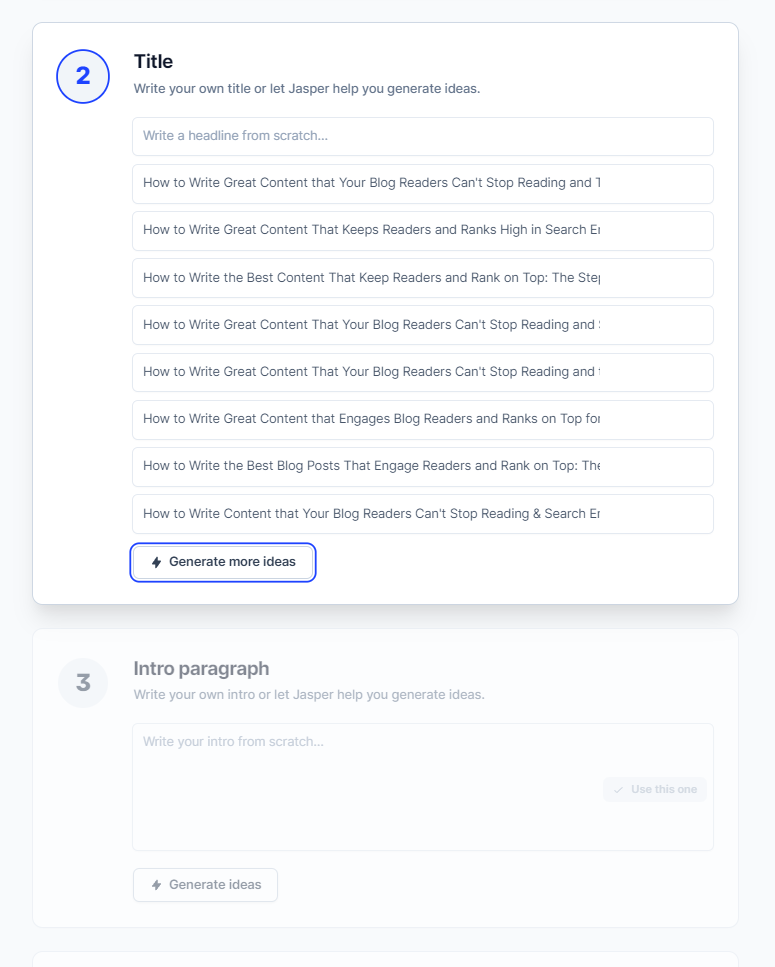
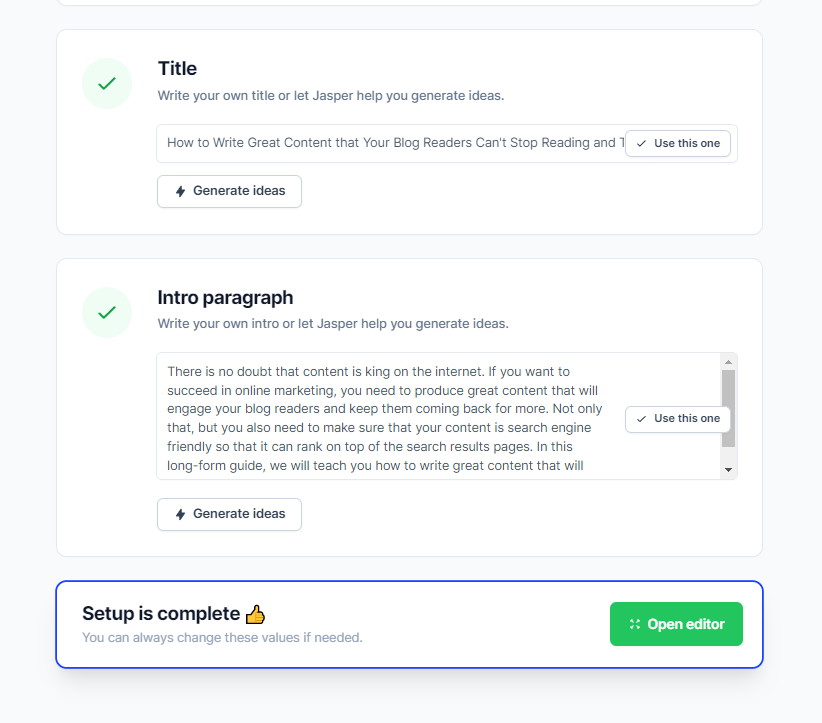
If none of the ideas work for you, you must edit the description and be more precise. This will help Jasper.ai understand what you want to achieve with the guide so it can provide you with better content ideas.
Once you’re okay with the title and intro, you should be able to open the editor, where you can write your entire post there.
Using Templates on the Text Editor
Jasper.ai’s text editor looks like your regular document, where you can write your text and edit its formatting.
You’ll see the information you entered on the left-hand side before getting to this page. Again, this is what Jasper.ai will refer to when generating AI content for your guide. Feel free to edit it as you see fit to help Jasper.ai produce the most appropriate content for you.
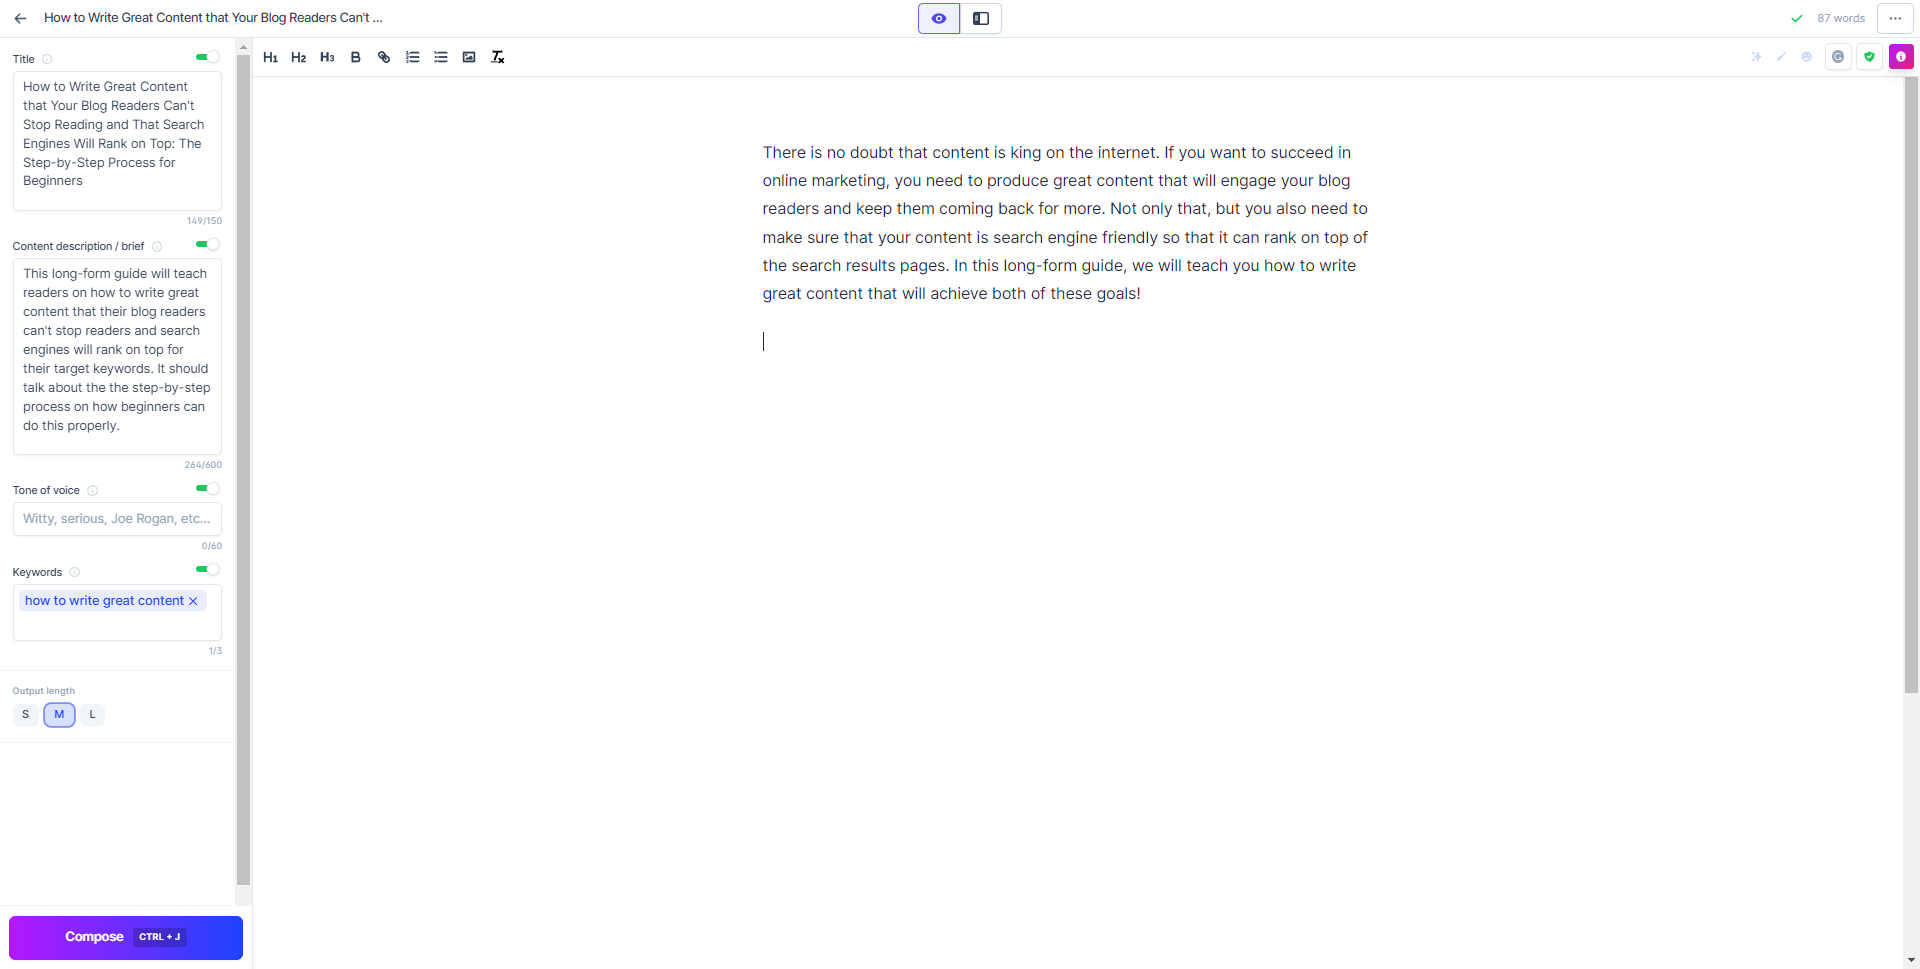
From here, you can enter the tone of voice of the document.
Aside from describing the kind of tone you want Jasper.ai to use in your content, you can also enter the names of people whom you wish to emulate with Jasper.ai.
So, include the name of authors, writers, or famous bloggers with the distinct tone you want to copy.
Currently, the document is in Focus Mode. Clicking on the Power Mode (the button on the right in the top-middle of the screen) will change the left sidebar to show the templates.
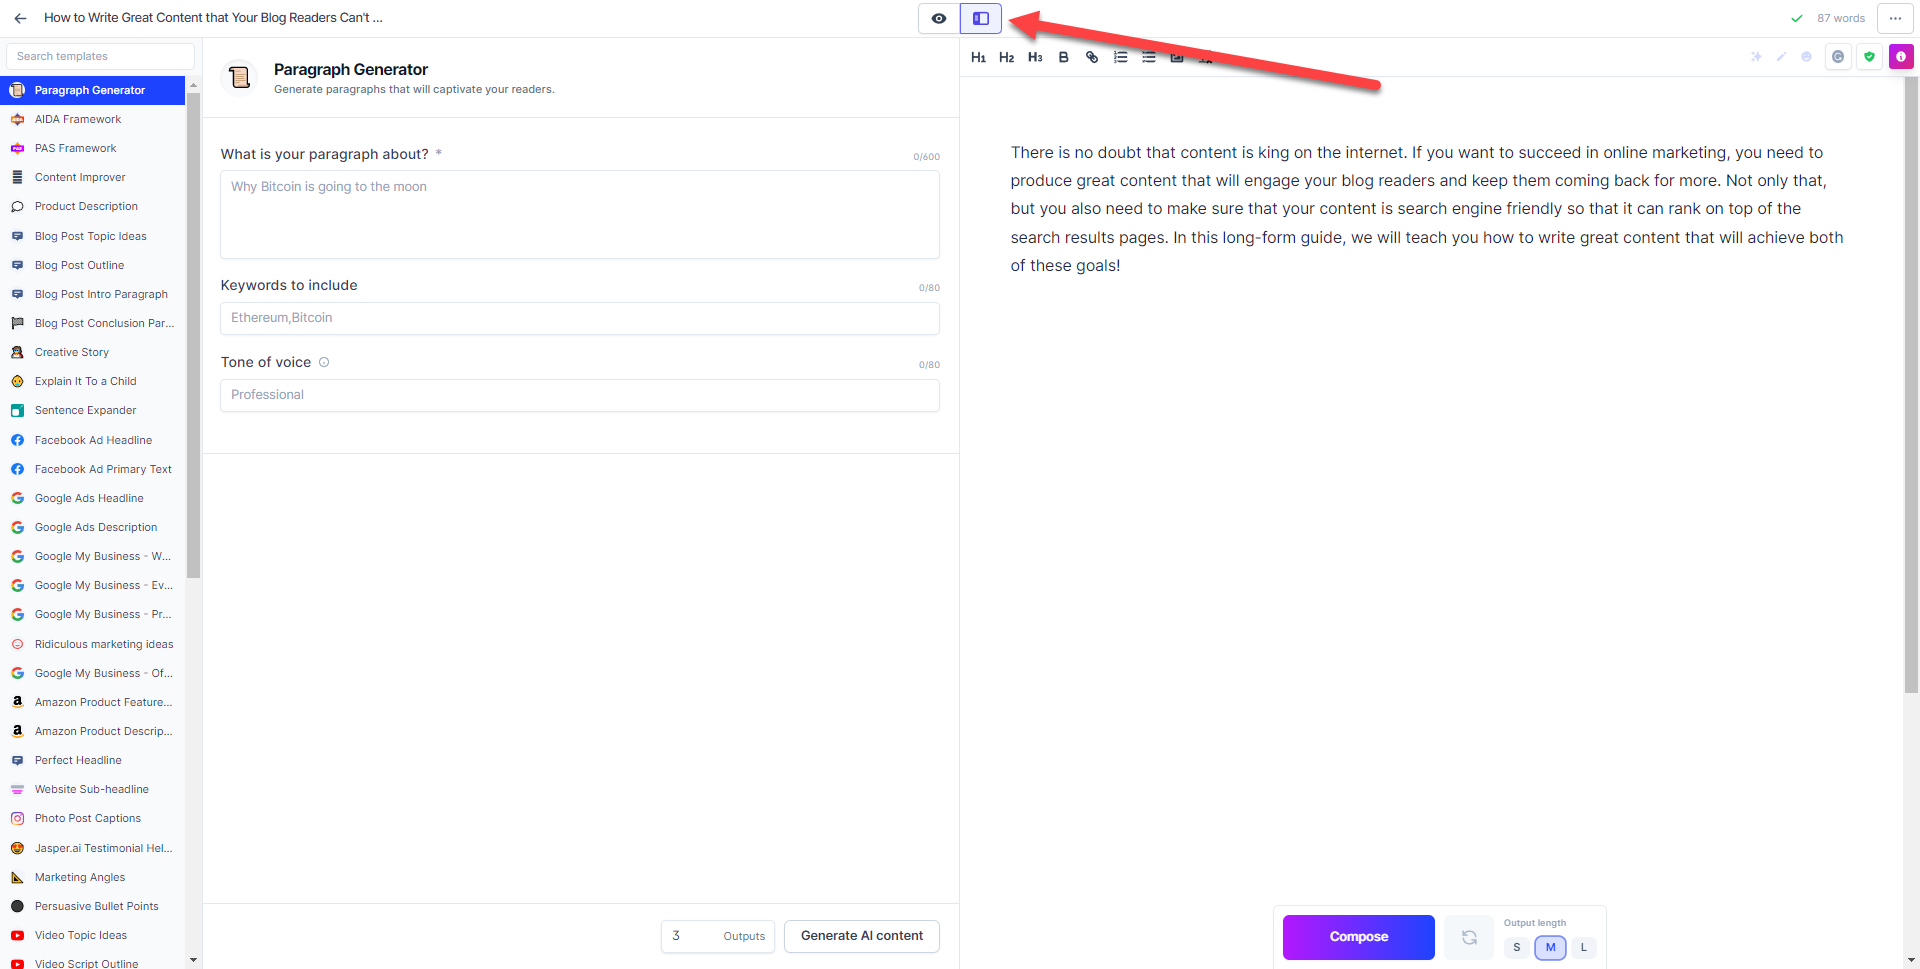
This somewhat solves the earlier issue of copying and pasting content from Jasper.ai to your document. With this feature, you can do all the work from a single dashboard, making it more efficient to create your content.
Using the Boss Mode
But the best feature of Jasper.ai’s document is the Boss Mode, which is its solution for beating writer’s block.
Here, you let Jasper.ai continue writing the content for you on the document without using the templates.
For example, I entered “Keyword Research” as its H2 and pressed CMD + J (CTRL+J for Windows) to initiate Boss Mode. Here’s what it produced for me:
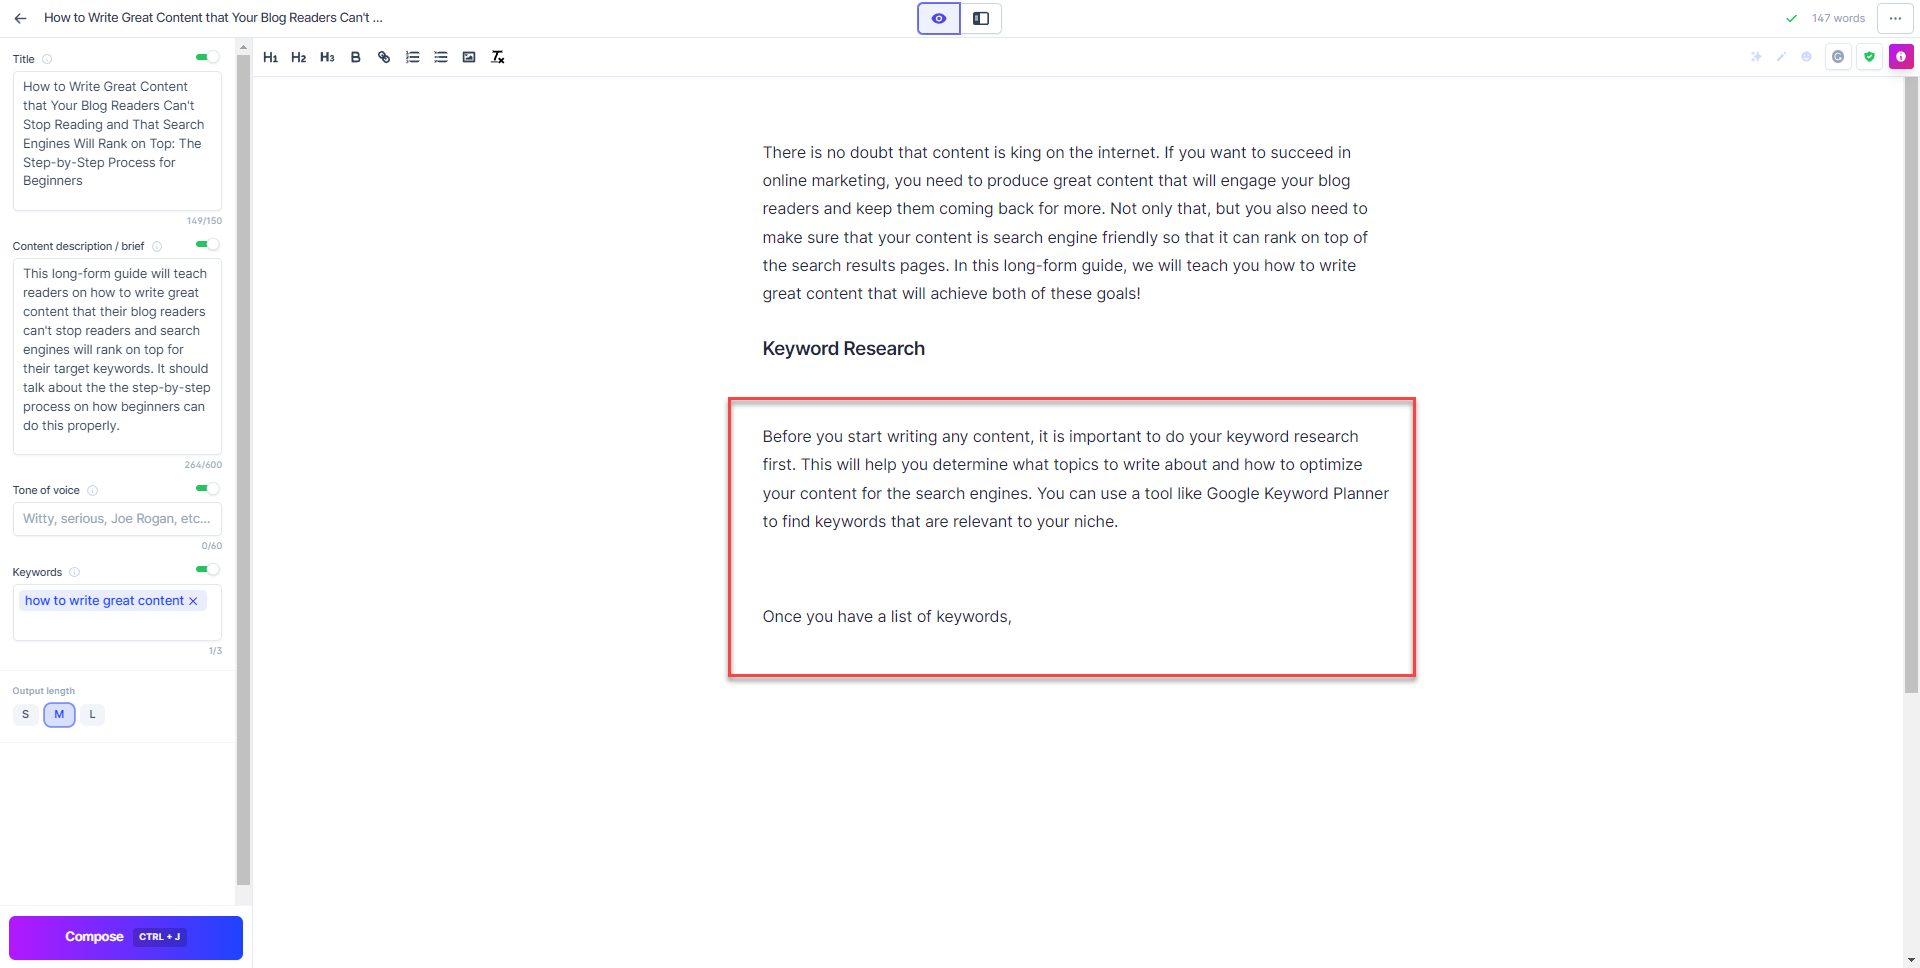
Considering that I didn’t edit the text, this is not a bad first attempt.
Let’s use Boss Mode to see what else it’ll come up with:

The added content somewhat misses the mark but is a pretty decent output. You simply have to edit the content to make it better.
For example, “Make Your Content Easy to Read” is a new topic, so you must format it into H2.
Then you may have to expand the previous section to show readers how to conduct proper keyword research.
Use Recipes to Further Simplify Your Workflow
Looking at Jasper.ai’s daunting template list might cause users to freeze up and not know which one to use first.
Even if you use Boss Mode and provide it with the right information, you still might get lost with the possible nonsense content it produces for you.
While Jasper.ai is powerful enough to help you generate content for your marketing campaigns, human intervention is necessary to ensure that its quality is up to par with your standards.
If you feel the same way, you’re not the only one. The tool has a Recipes feature that combines the different templates to use based on the content type you wish to create.
Click on the Recipes link on the left sidebar to access this list.
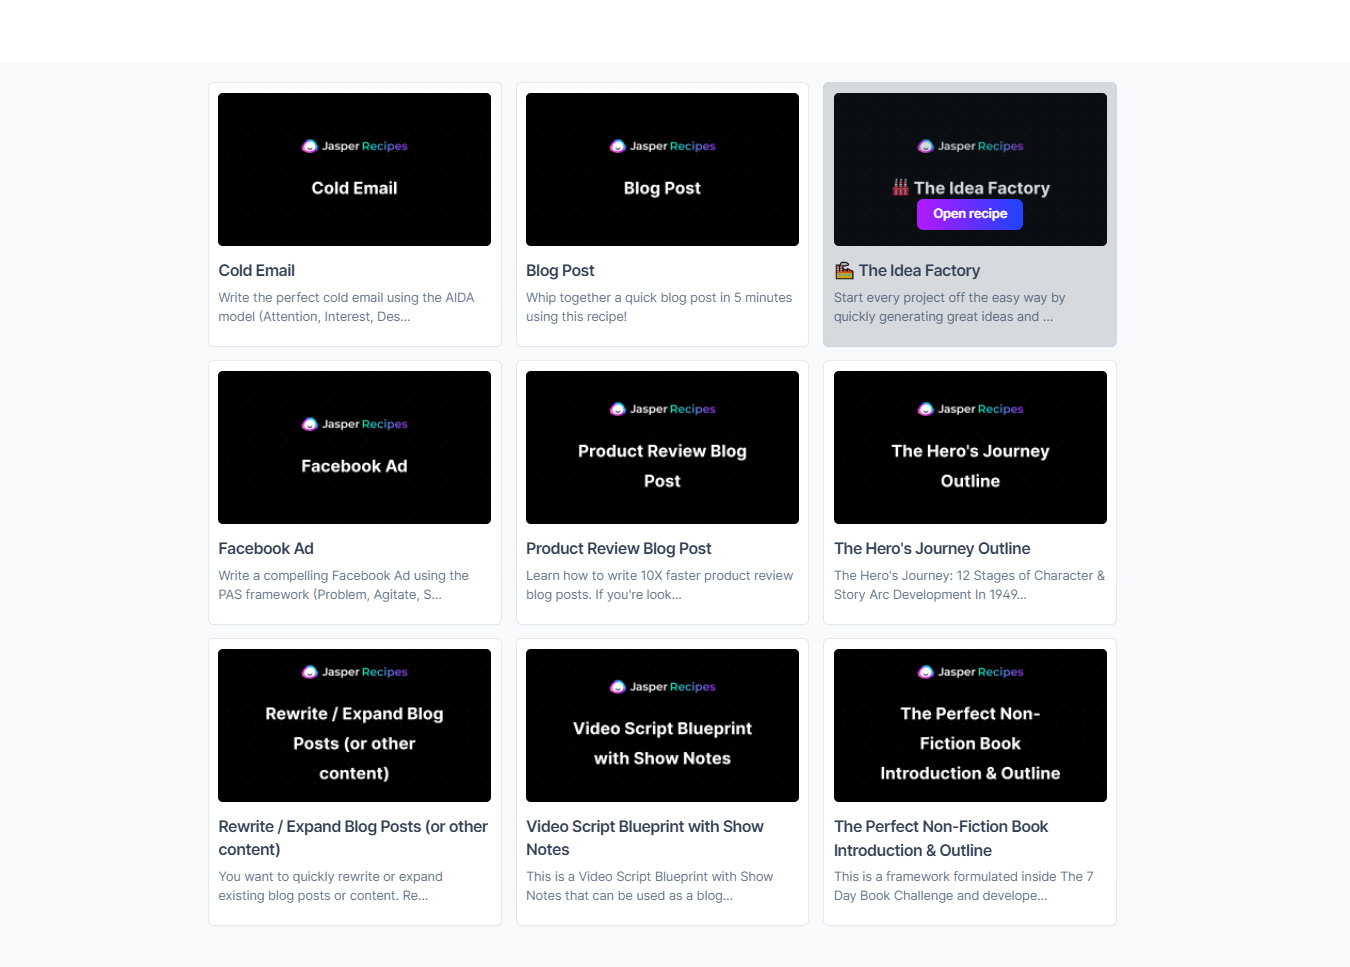
There are nine pre-made recipes from which you can choose.
Let’s choose the Blog Post recipe for this example.
Clicking on the recipe will bring you to the Documents loaded with the pre-made recipe template.
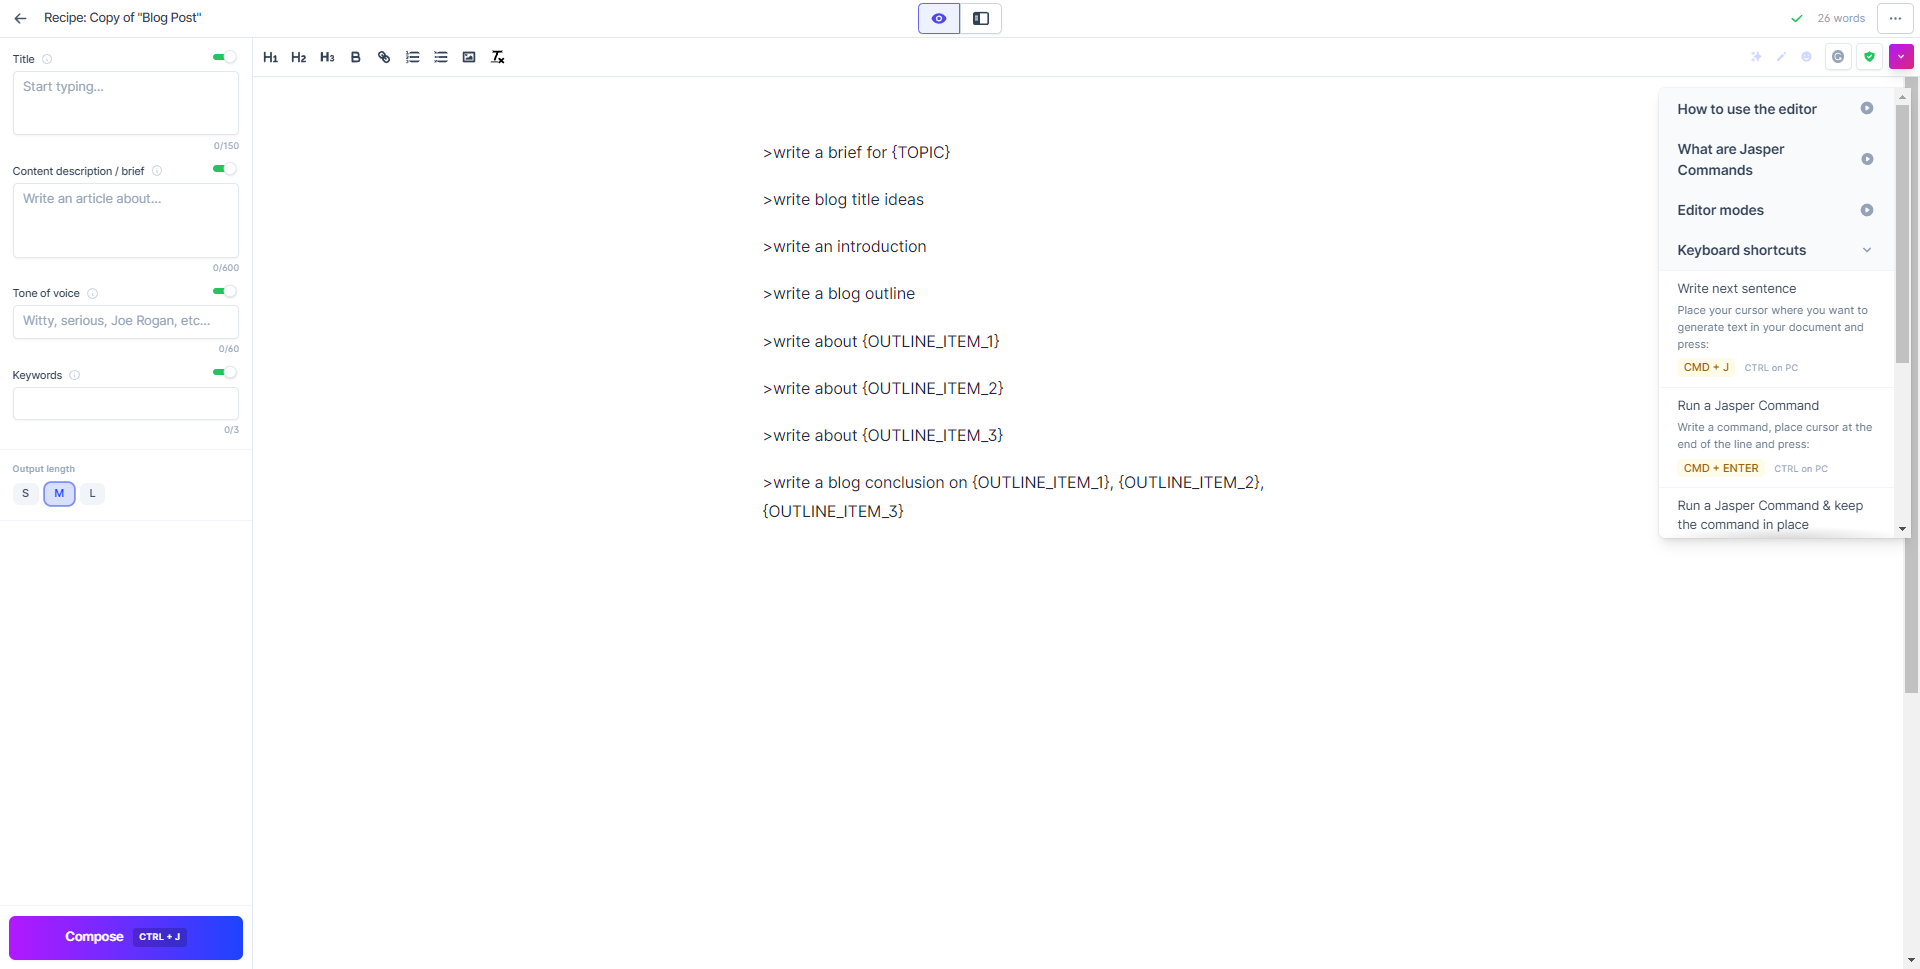
Each line consists of a command that you can enter on Jasper.ai.
Unlike the Boss Mode, where you let the tool generate the content for you, a command allows you to direct the kind of content you want Jasper.ai to create. This way, you get more precise content that suits your needs.
From here, the first thing you must do is change the {TOPIC} in the first line with your topic. Let’s stick with “how to write great content” as the topic.
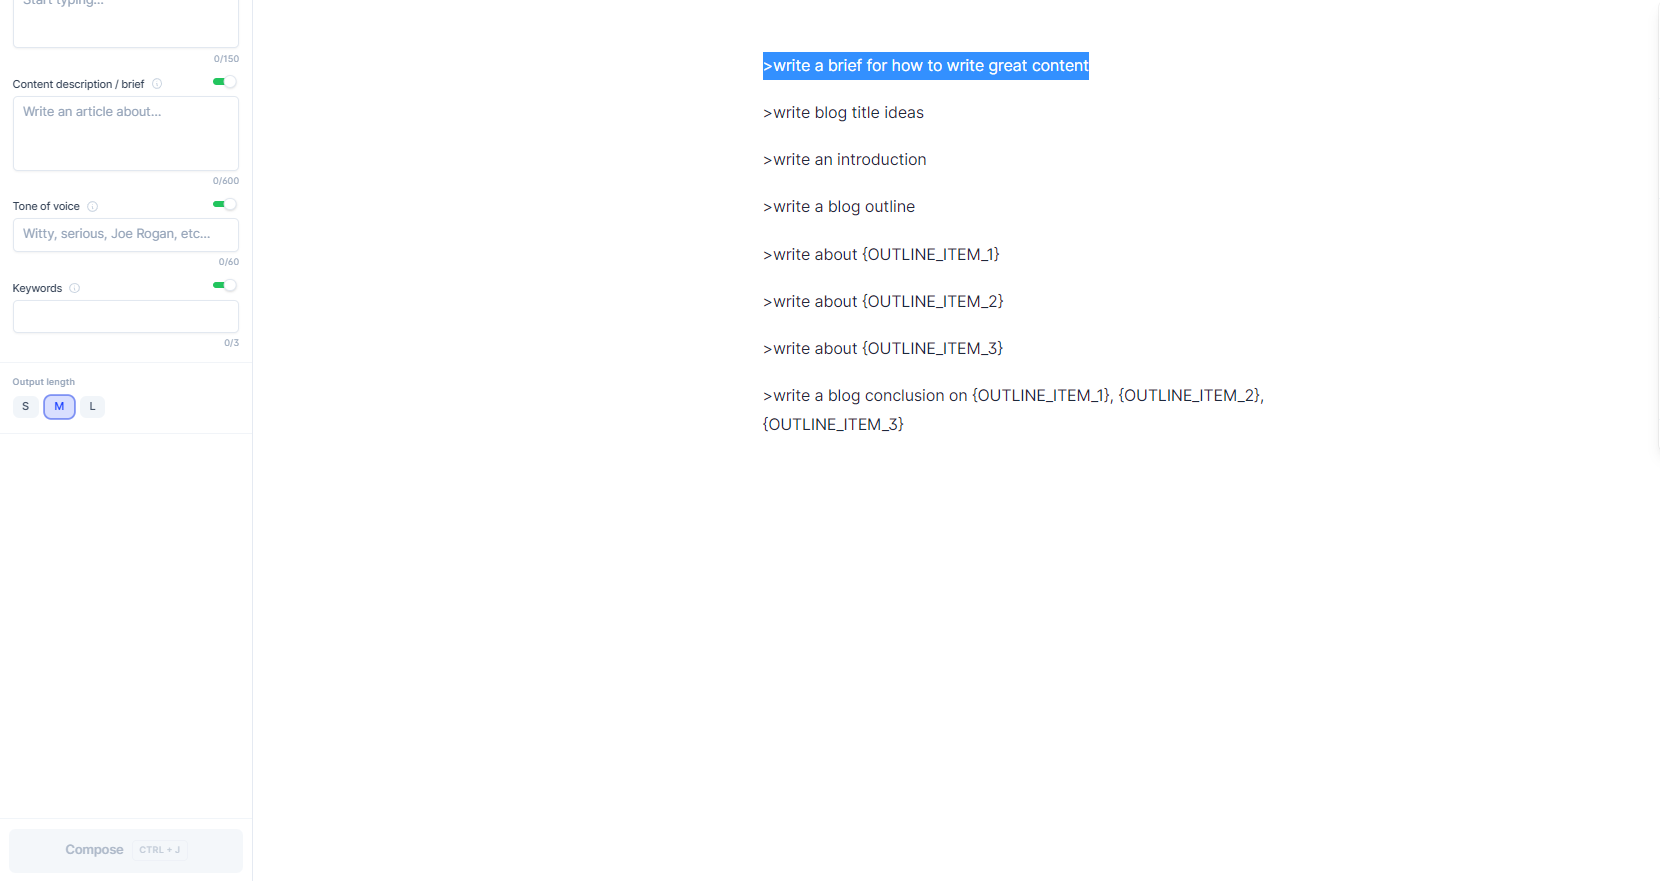
Next, highlight the first line, then press CMD + Enter to run the command. Highlighted is the generated content from the command.
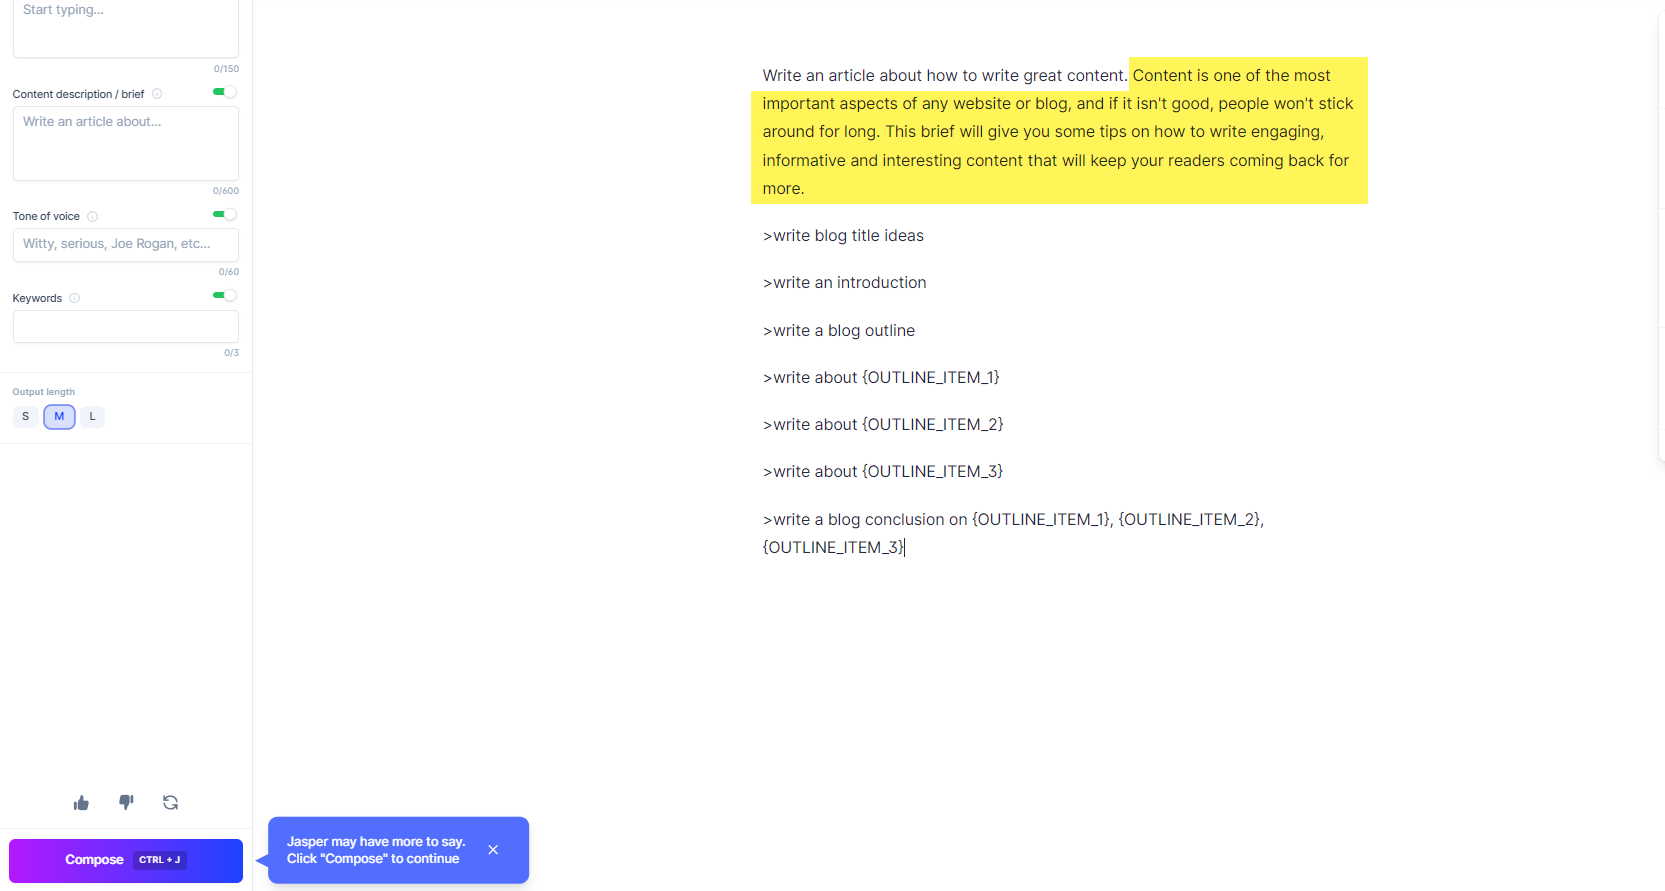
Copy the created brief and paste it onto the content description section found on the left sidebar.
From here, proceed with the following commands to build a draft of your blog post.
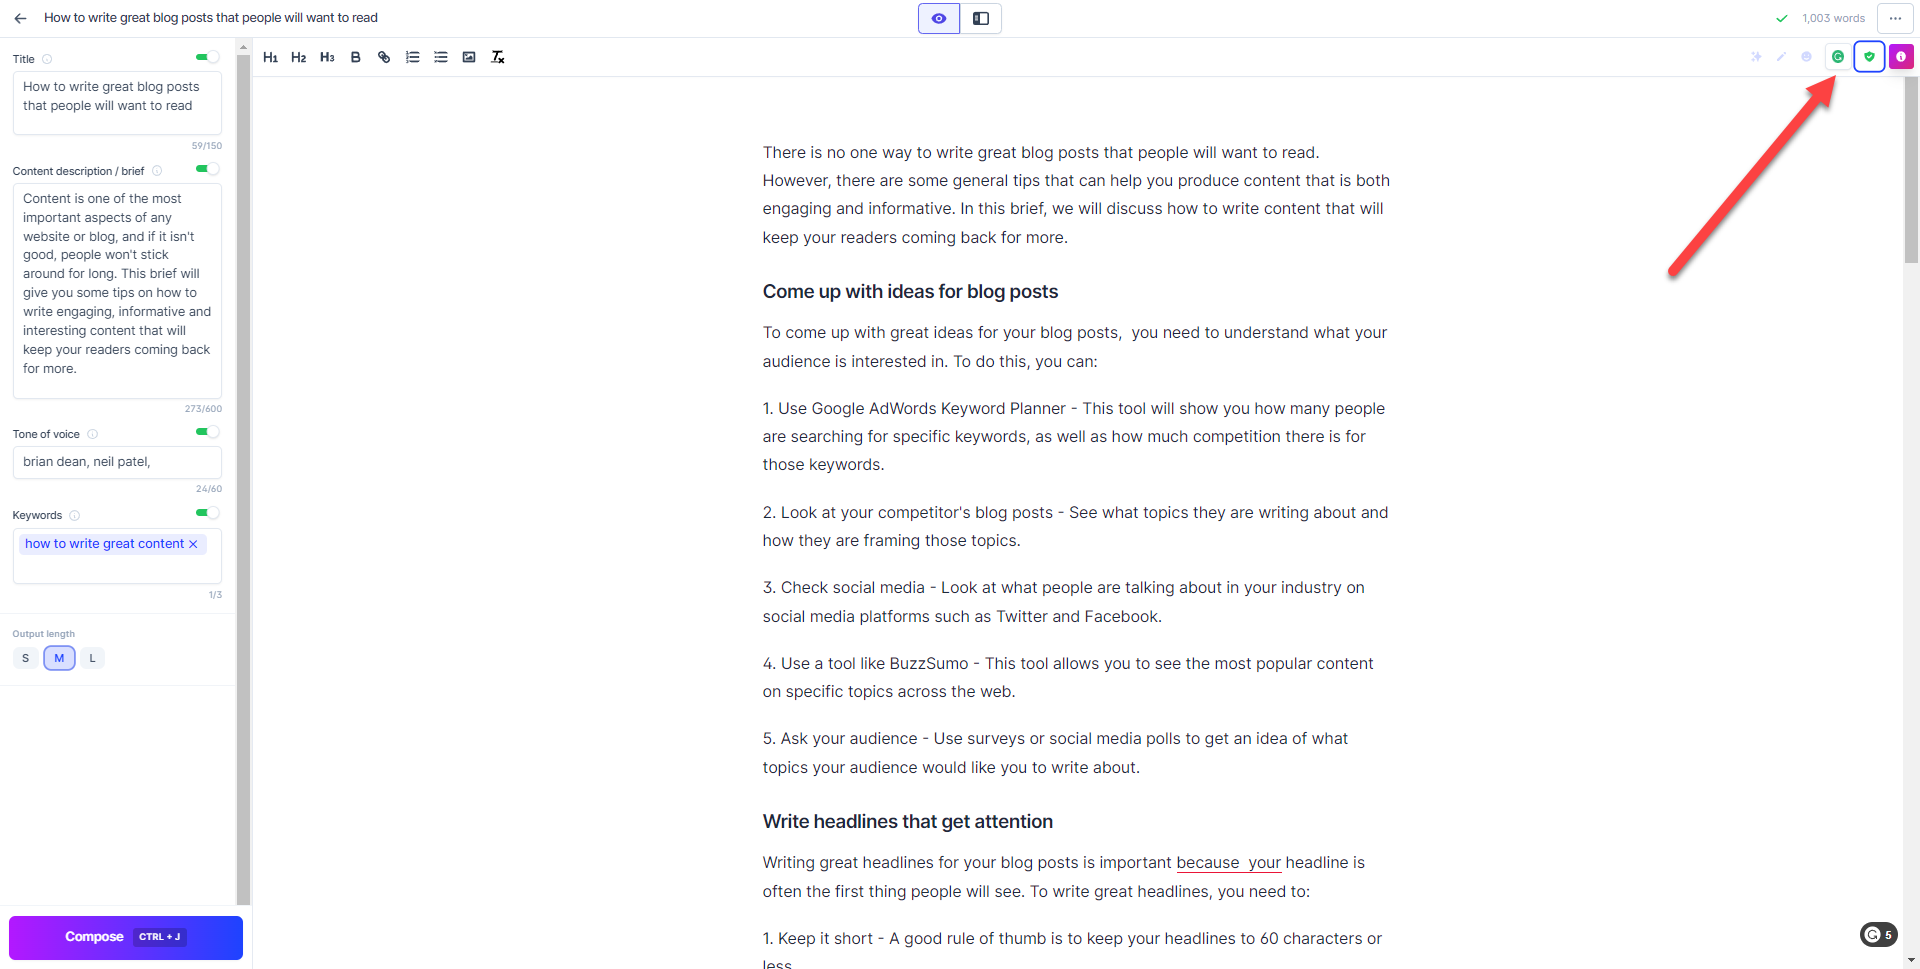
Using the recipe and Boss Mode, I created a 1,003-word post about the topic in just a few seconds. Here’s a screenshot of its first part:
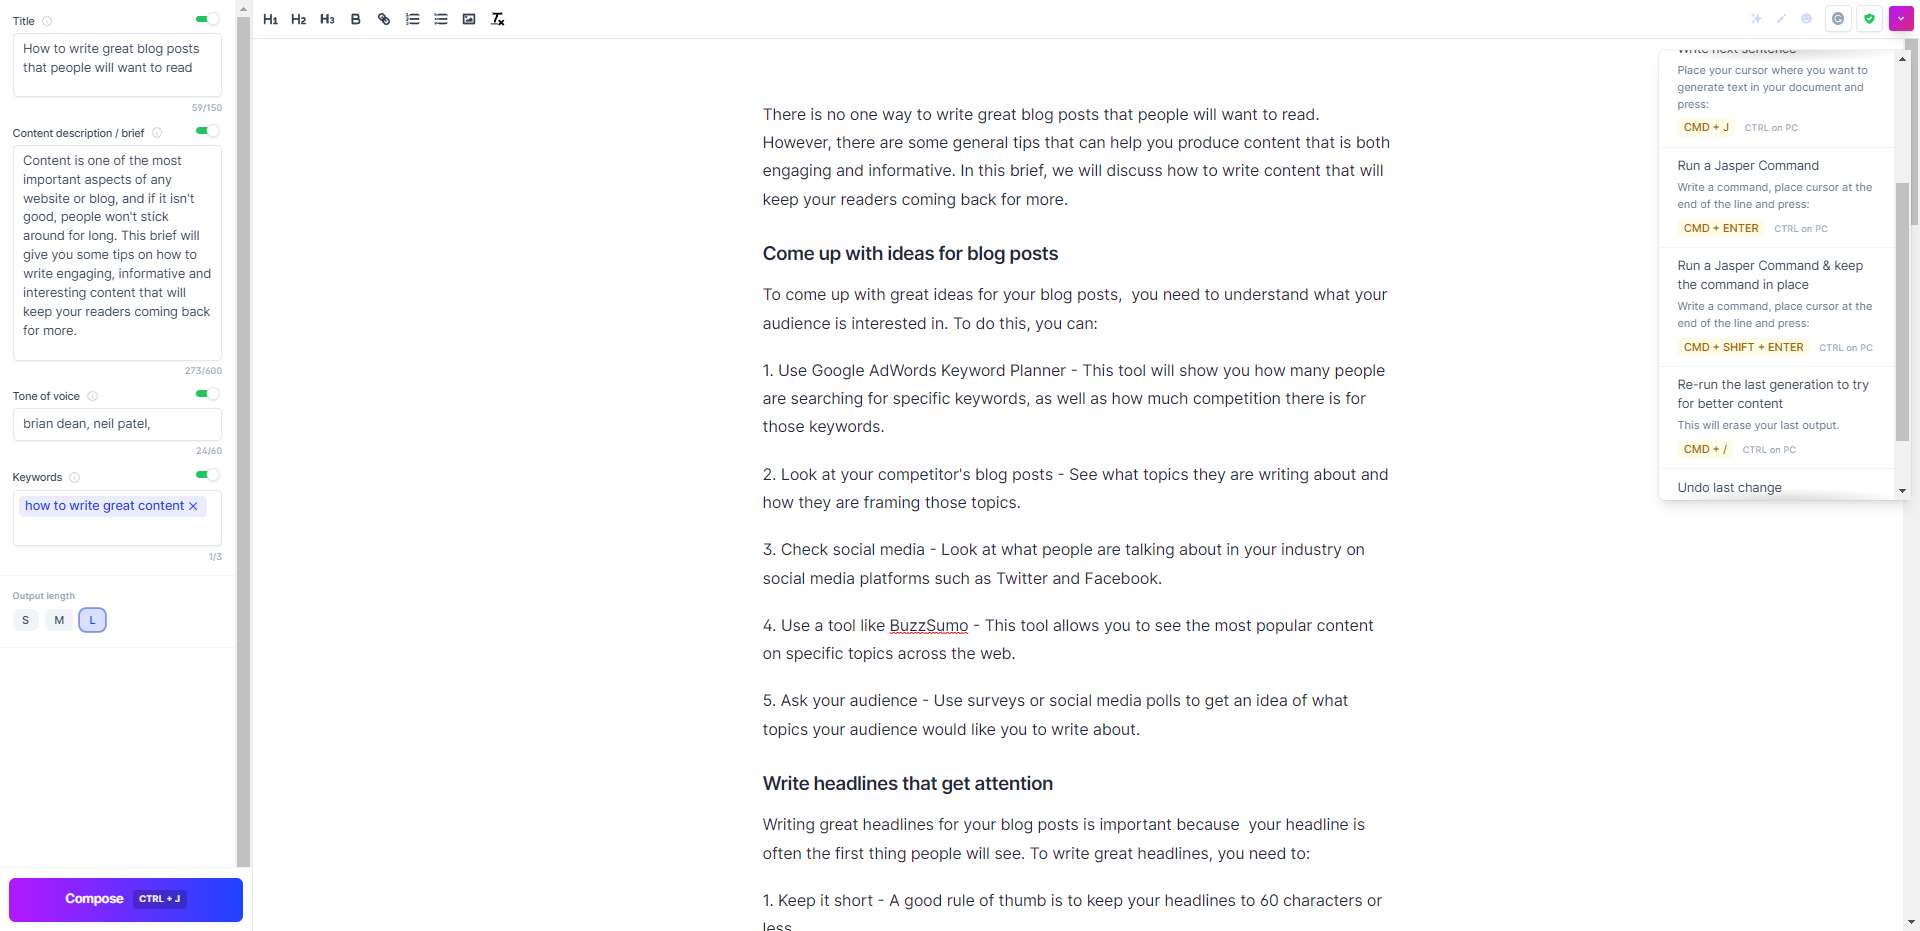
Most of the content was created using Jasper.ai, although I had to direct traffic to keep the tool on track with the content it was generating.
For “Write headlines that get attention,” I had to write “Writing great headlines for your blog posts is important because,” and then I pressed CMD + J to initiate Boss Mode.
This makes it easier for Jasper.ai to create the text that you need for the blog post. As an AI writing assistant, it still needs your guidance to achieve the content you want for your sites.
Editing the Content
After you’ve created the content using Jasper.ai, you can edit it to ensure that it’s ready for publishing.
Aside from the Content Improver template, below are other features and integrations included in it:
Plagiarism Checker
One of the issues with AI content generation tools is that it lifts content from existing articles without making them unique.
Jasper.ai is not exempt from this as it could copy content from other pages.
But at the very least, the tool has a built-in plagiarism checker feature courtesy of Copyscape to help you identify which parts of the articles are copied from other pages.
This way, you can edit your article accordingly to publish plagiarism-free content.
Unfortunately, you must top up your plagiarism checker credit to be able to review the content.
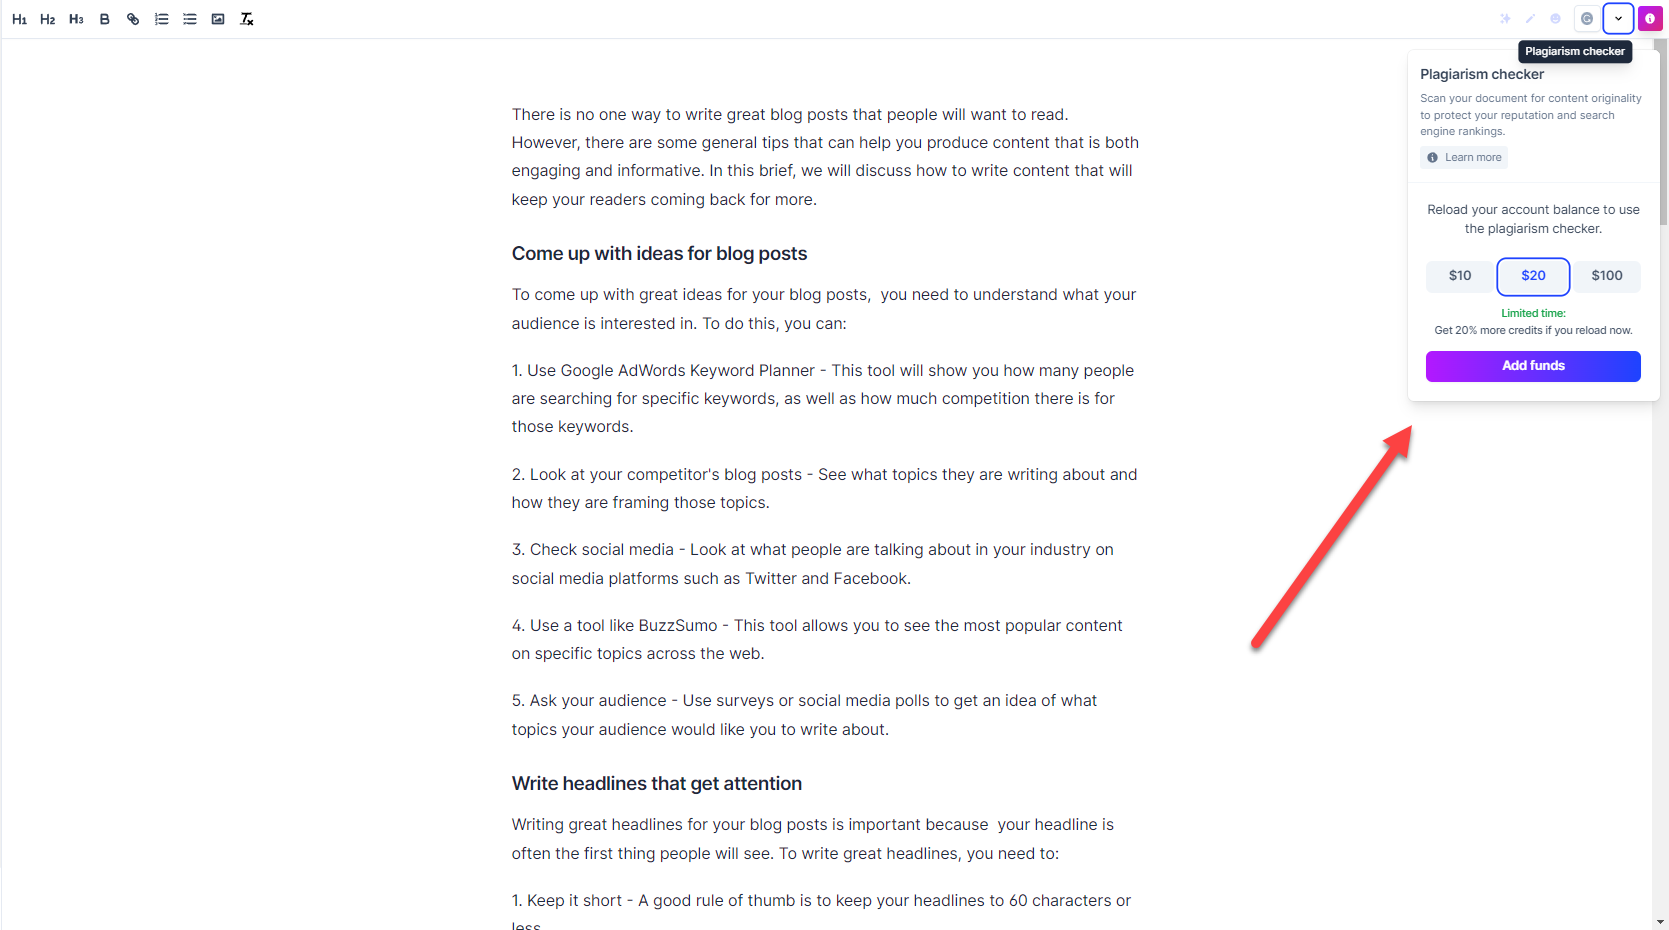
Each scan costs $0.03 for every 200 words.
We won’t be using this feature here, but this shows that Jasper.ai can help ensure that your content is not stolen so you can properly edit it.
Grammarly Integration
To help you identify grammatical errors you missed with reviewing your content, activate Grammarly from the Documents.
Click on the Grammarly icon on the top-right side of the screen to show the Grammarly suggestions on the lower-right side.
You need to connect your Grammarly account first to see the possible errors in your content.
Sign up for a free Grammarly account if you don’t have one yet. It will still show you the major issues in your content, but not other suggestions that will take your content to a whole new level.
Nonetheless, the free account should be enough to help you work on the errors it spots to improve your content drastically.
Surfer SEO Integration
If you intend to rank your website on search engines, you must optimise it for target keywords.
While Jasper.ai doesn’t check your article for SEO factors, it seamlessly integrates with Surfer SEO, one of the leading content optimisation tools in the market.
To enable it, go to your settings and enable Surfer SEO first.
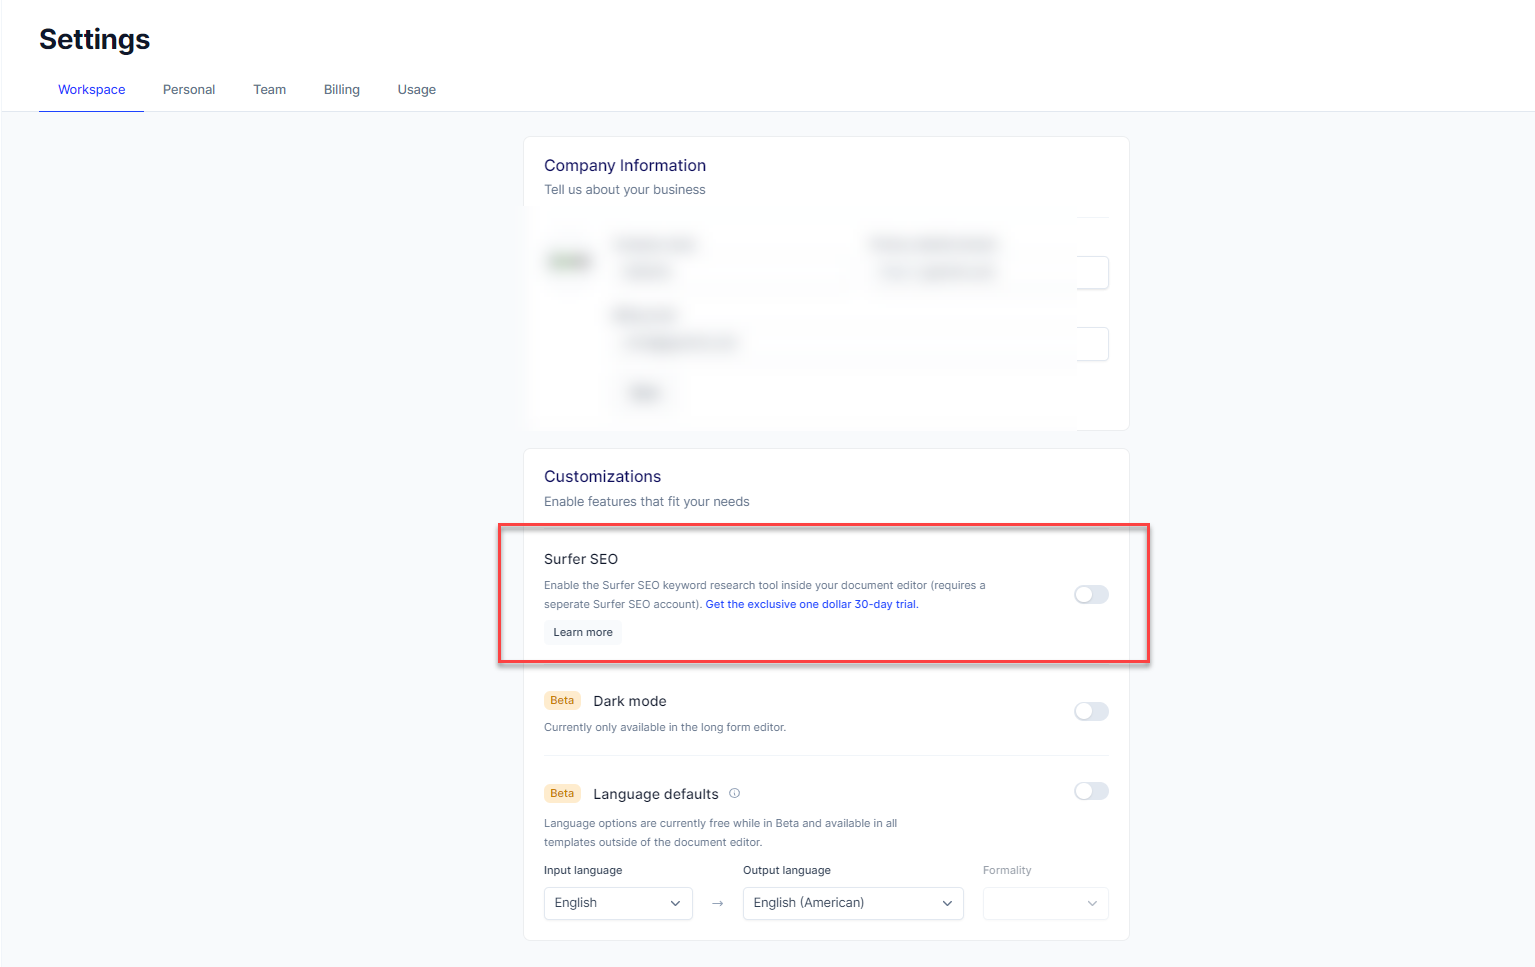
Once done, download the Surfer SEO Chrome extension if you haven’t yet and click on it when you’re in the document you want to optimise. From there, it’ll show you the Surfer SEO features on your sidebar.
You must have a Surfer SEO subscription for this to work. But unlike Grammarly, you have to pay for your subscription to unlock all its features.
If you don’t have a subscription yet, you can try out Surfer SEO in the next 30 days for $1.
Ending Your Free Trial
At this point, you should have a good idea of whether or not to push through with Jasper.ai as your primary AI content generator in your toolset.
If yes, you can just continue with your subscription and let your credit card payment cover the entire month.
If not, you must click on the gear icon at the lower left part of the screen, then click on the Billing tab on the menu.
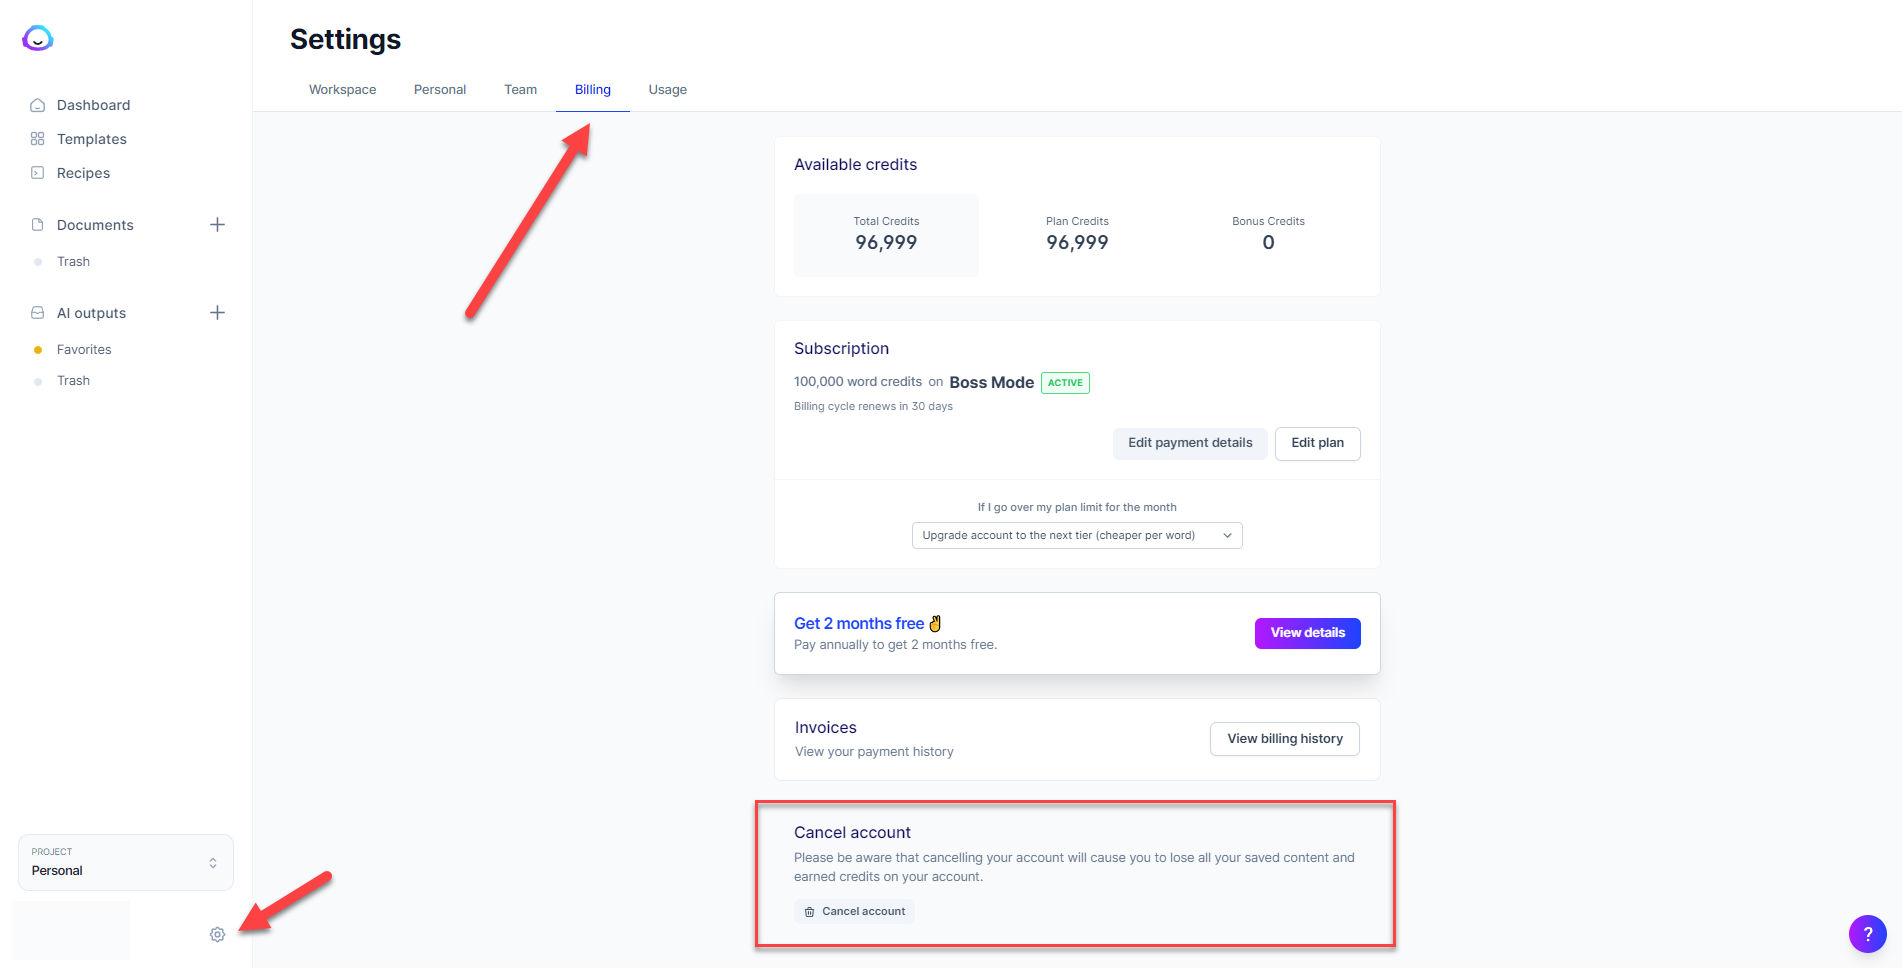
From here, you will see how many credits you have left in your subscription.
This is crucial, especially once you’re using the tool extensively. Keeping track of your credits prevents you from getting too trigger-happy with the Boss Mode.
More importantly, find the Cancel account section at the bottom of the page and click on the “Cancel account” button.
As mentioned here, you will lose all your saved and generated content during your trial period. Therefore, if you enjoyed the content produced by Jasper.ai, save them first before canceling your account.
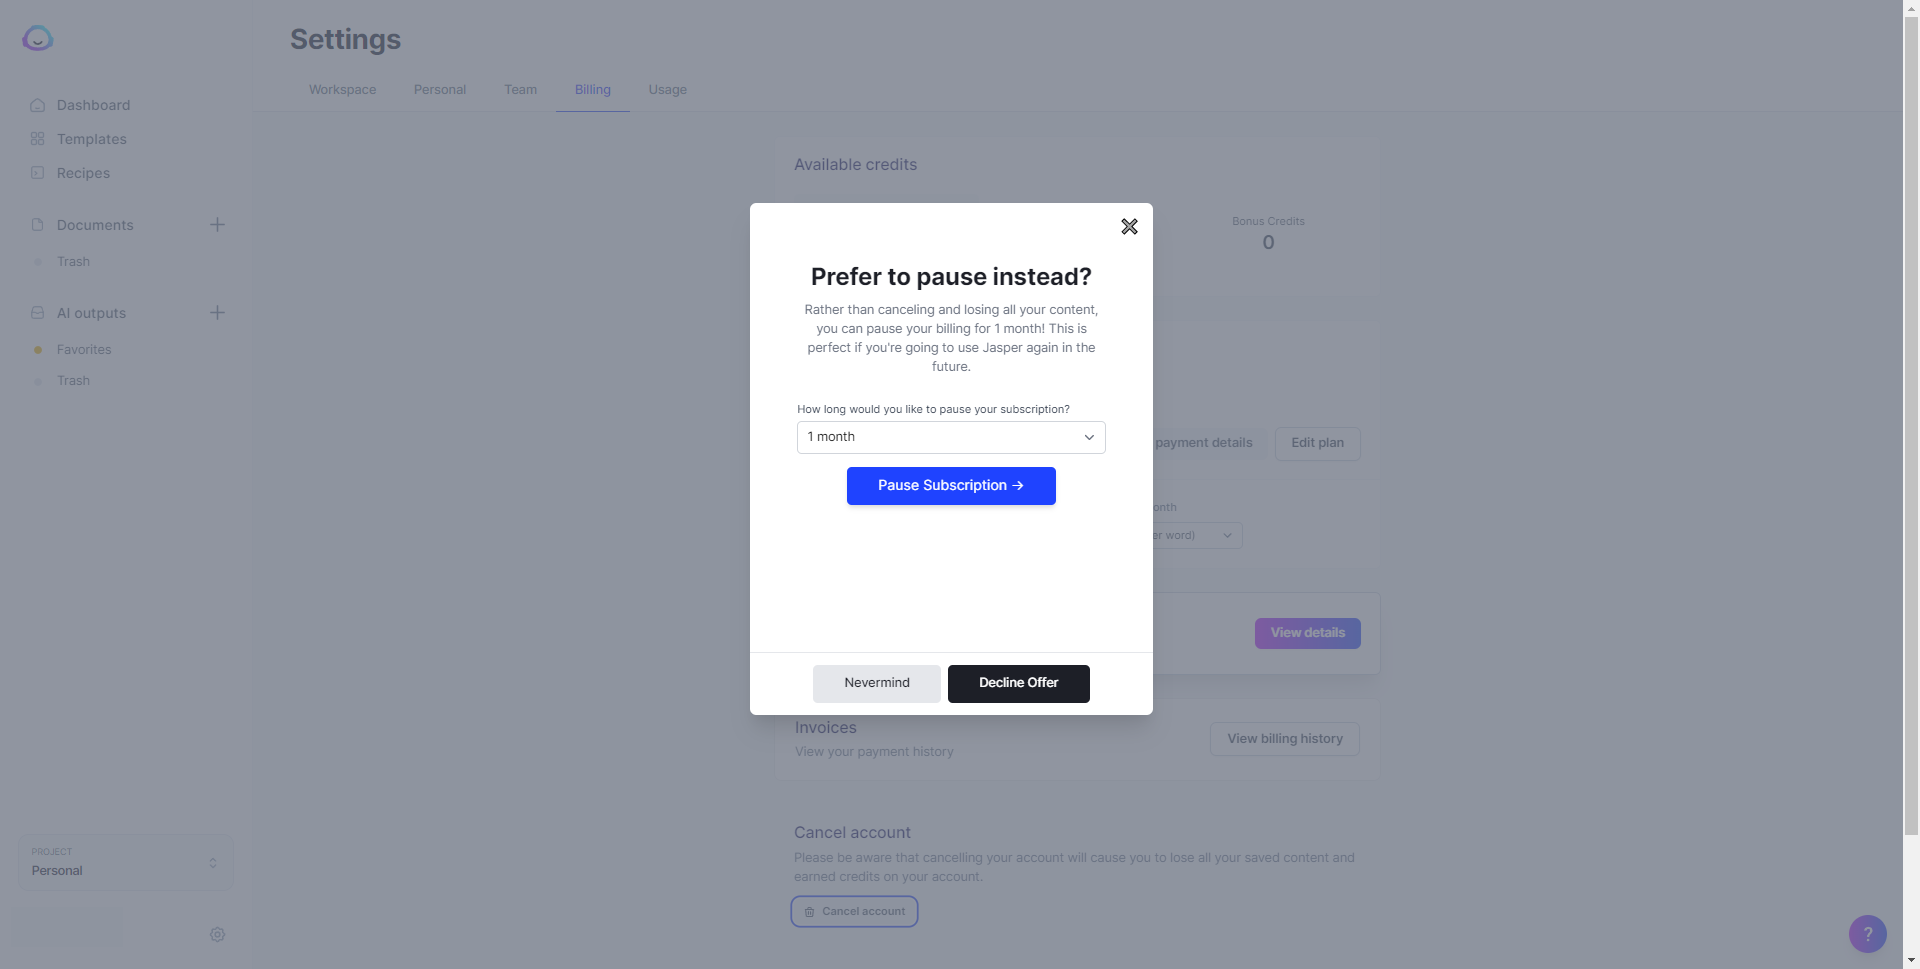
After clicking on the button, the tool will ask you if you like to pause your subscription for a month. If not, click on “Decline offer.”
It will then ask you to explain why you’re canceling. Select the reason from the list that best fits why you’re leaving.
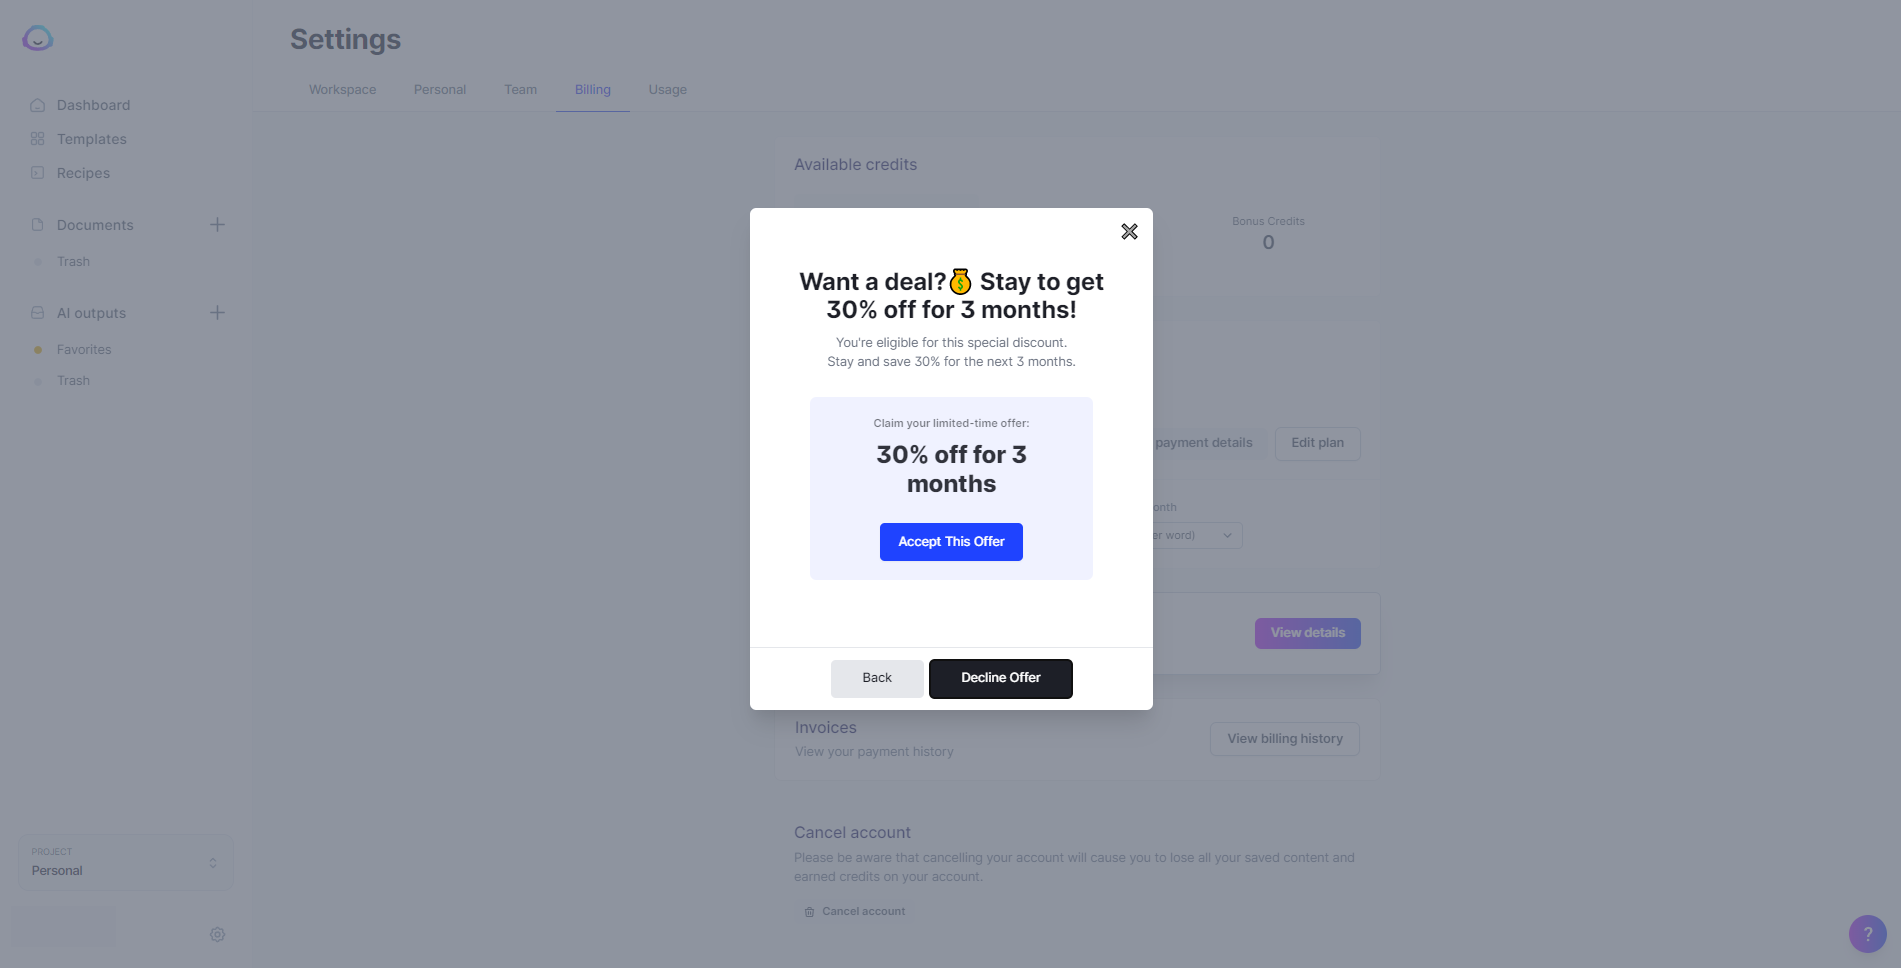
It will still try to prevent you from canceling by offering you 30% off for the next three months of your subscription.
Even after this, other windows pop out from the screen—too many to mention— that will try to convince you to keep your account. Keep declining its offer so you can cancel your account successfully.
Eventually, you’ll be able to cancel your account.
Conclusion
As a leading AI writing assistant, Jasper.ai is merely that: an assistant.
It generates AI content for you to flesh out your ideas, overcome writer’s block, and get inspiration from it.
Using this tool, you still need to put in the work by providing it with the necessary inputs so it can produce the best content for you.
But when used correctly, Jasper.ai is a godsend for your content marketing strategy.
The fact that it can cut down the time spent in your writing process makes every minute of trying it out worth it!
So, if you’re still on the fence whether you should use it or not, this post about the tool’s free trial should encourage you to try it for all its worth.

Digital Nomad
I’m a full-blown Search Engine Optimization specialist earning the majority of my income from SEO-focused endeavours, including affiliate marketing, lead generation, as well as SEO services. Love travelling the world networking while working on my laptop. Life is a perception of your own reality. You have no excuses and should be making memories every single day.
0 Responses to Jasper.ai Free Trial: Is This AI Content Generator Even Worth Your Time?